Press-on nails offer a quick and easy way to achieve a polished look, while builder gel is known for its strength and durability. As nail enthusiasts continue to experiment with different methods, the idea of combining these two techniques has sparked interest. In this article, we will explore the feasibility of applying builder gel over press-on nails, discussing the materials involved, the potential benefits, and the steps required to achieve the desired result. We will also address potential drawbacks and provide maintenance tips to ensure the best possible outcome for your nail enhancement journey.

What Are Press-On Nails and Builder Gel Made Of?
To better understand the process of applying builder gel over press-on nails, let’s first examine the materials used in each product.
Press-On Nail Materials
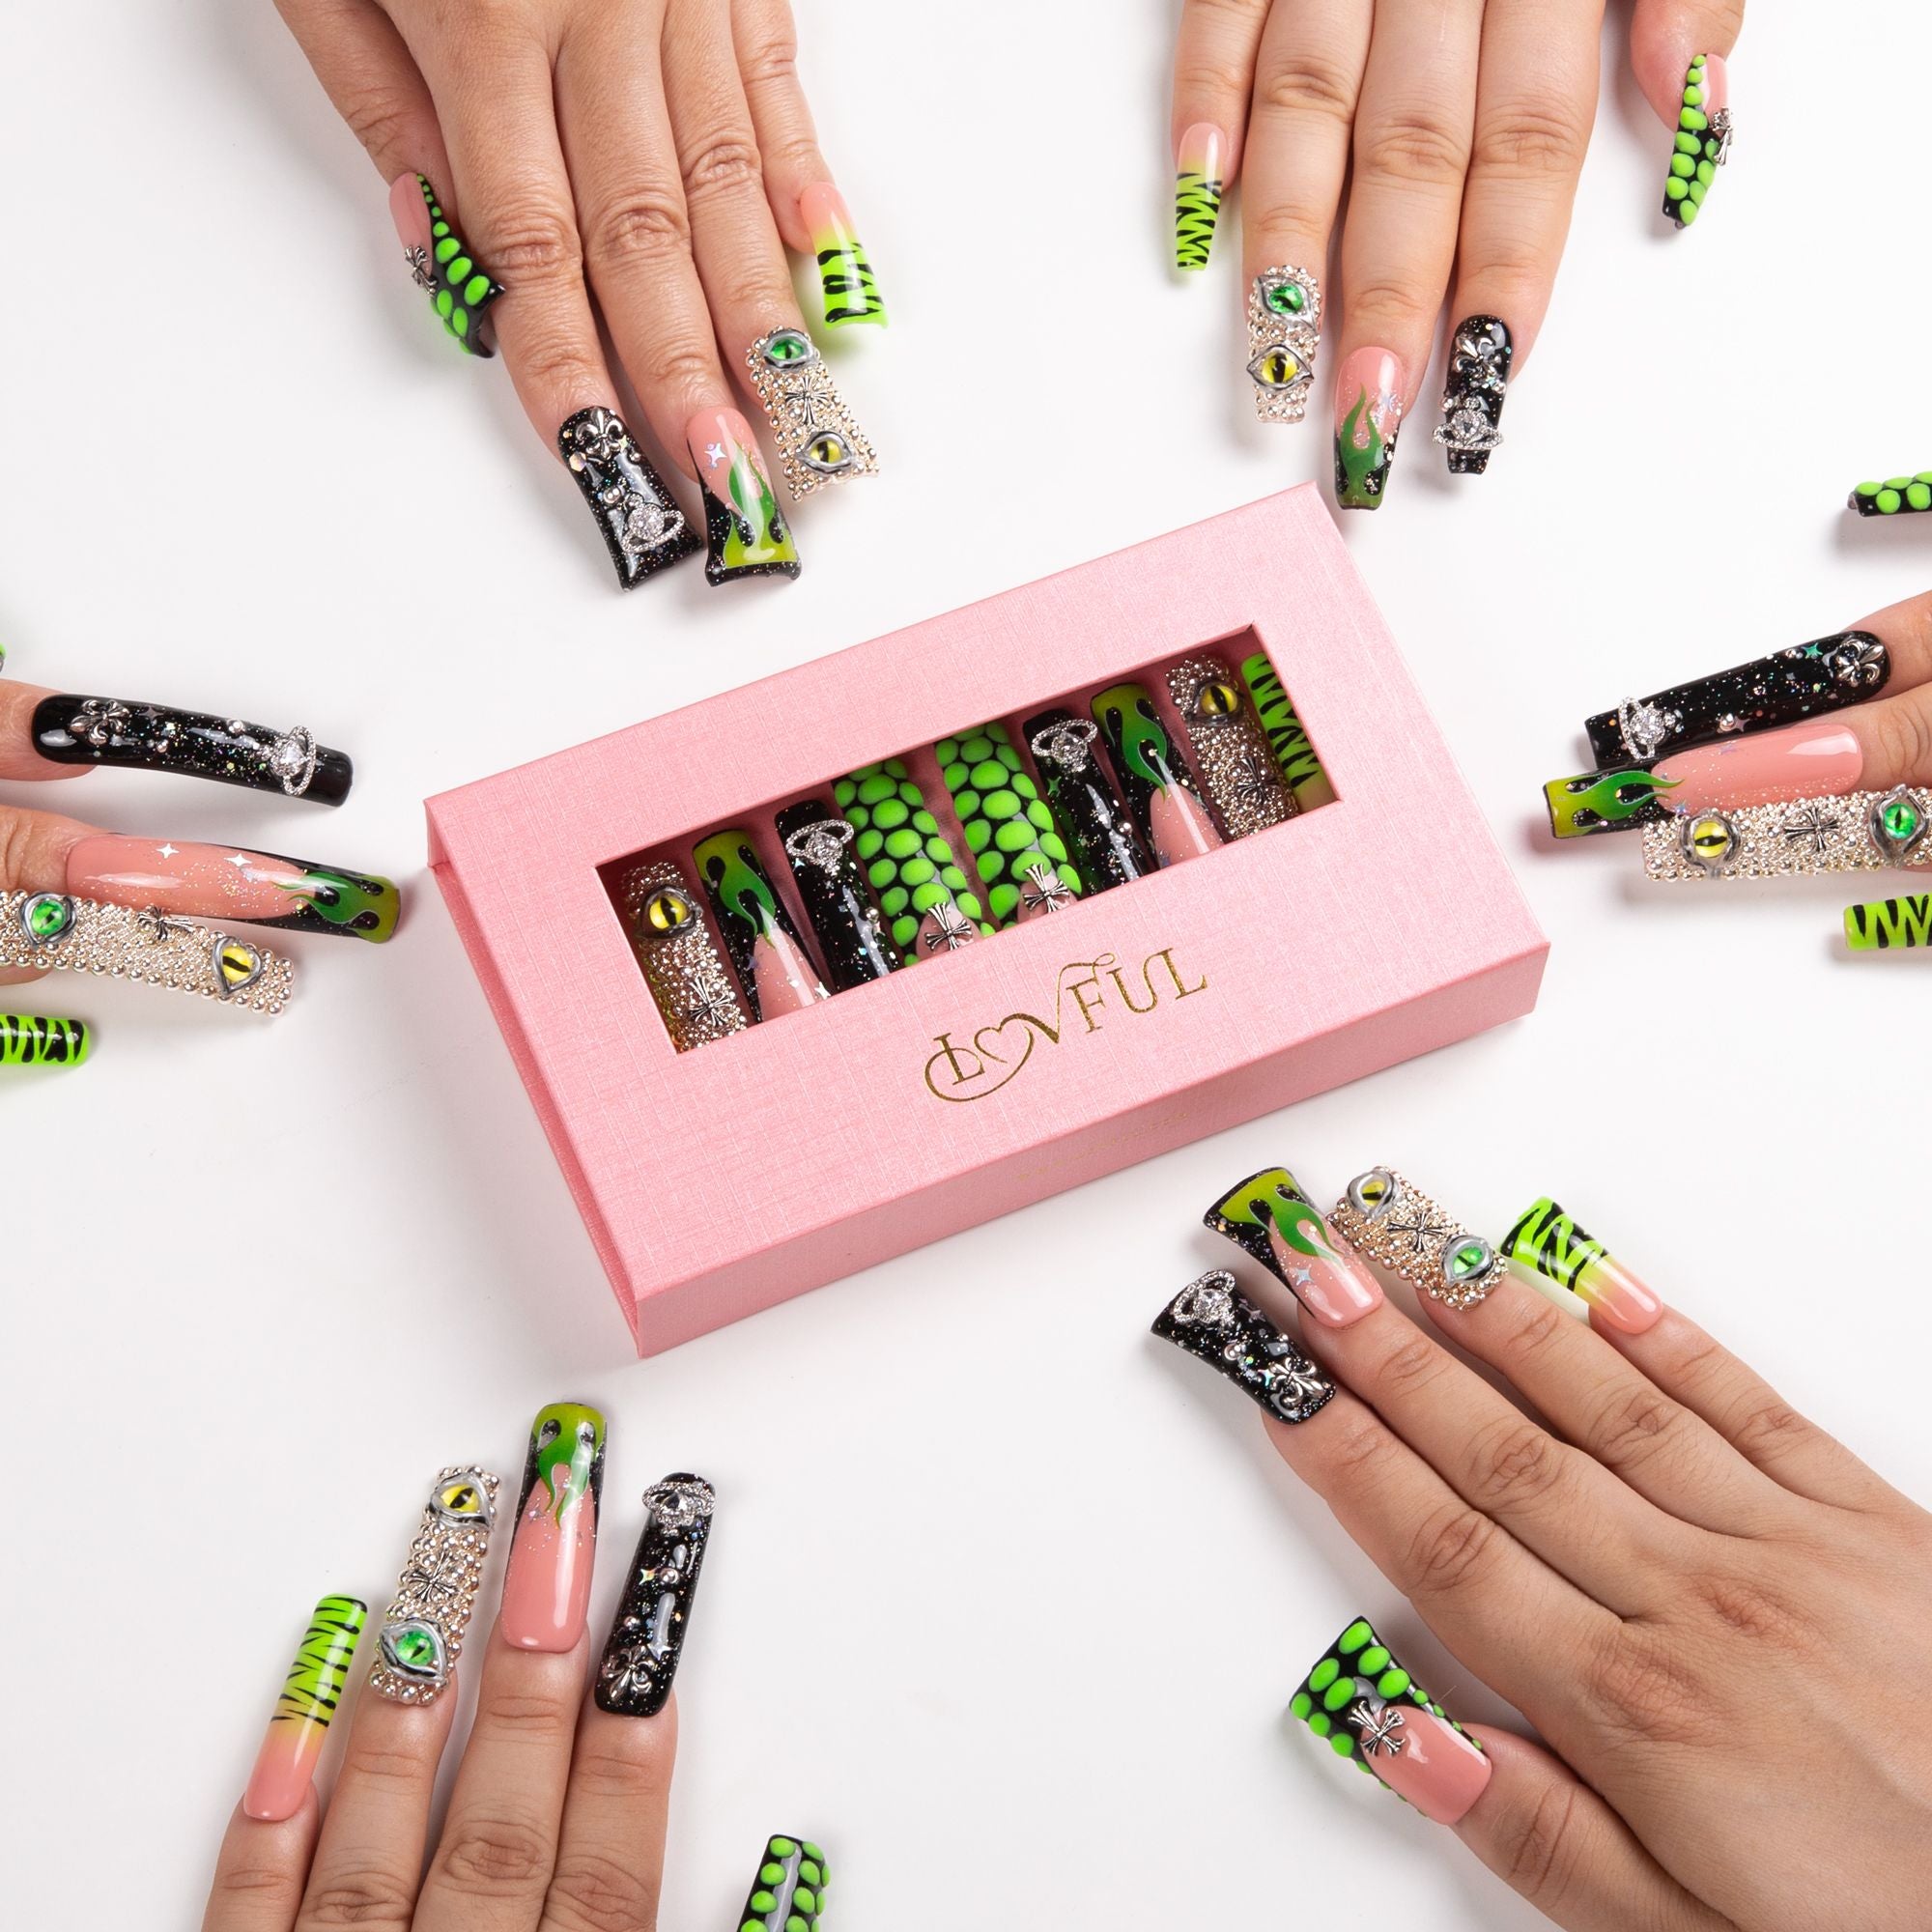
Press-on nails are typically crafted from materials such as ABS plastic, acrylic, or gel. These materials are selected for their durability, flexibility, and ability to closely resemble natural nails. Press-on nails come in a wide range of shapes, sizes, and designs, offering a quick and versatile solution for changing your nail look. To ensure a perfect fit, it's essential to choose the right size press-on nails, which can enhance both comfort and appearance.
What Is Builder Gel?
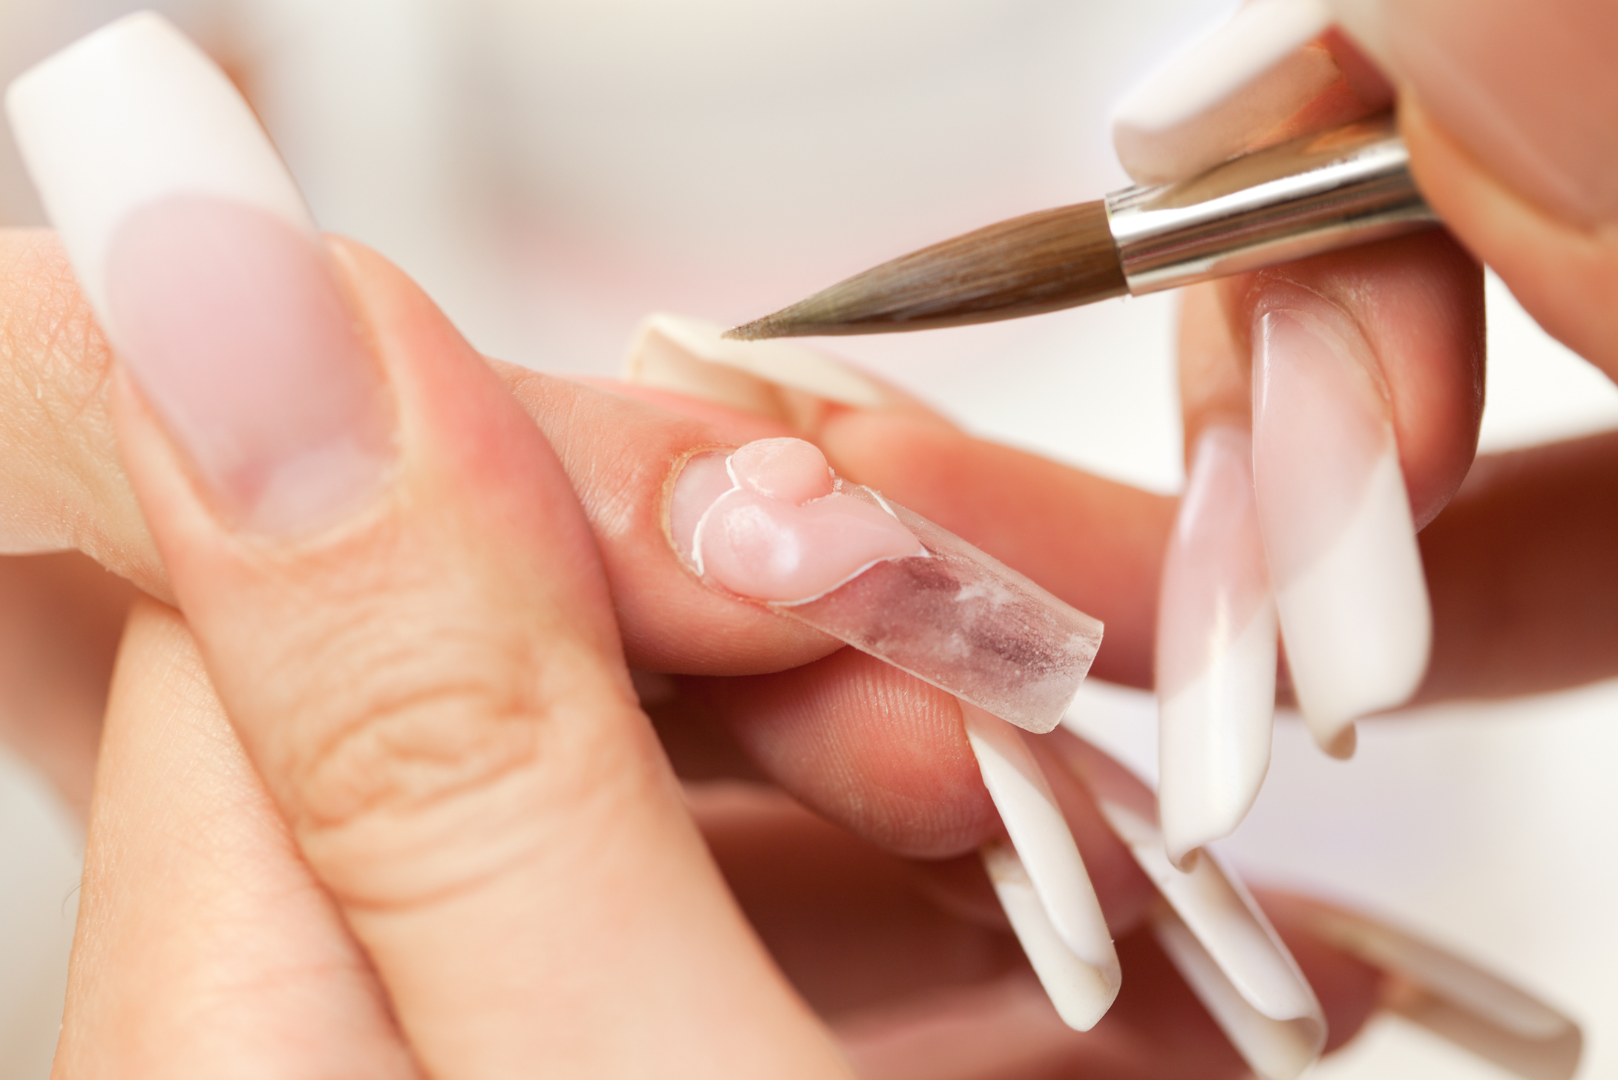
Builder gel is a nail enhancement product designed to create a strong, durable layer over natural nails or artificial nail tips. It is made from a combination of monomers and oligomers that polymerize when exposed to UV or LED light. Builder gel is renowned for its ability to strengthen, thicken, and shape nails, reducing the risk of breakage. It can also create a smooth, even surface for applying nail art designs.

Can You Apply Builder Gel Over Press-On Nails?
Combining press-on nails with builder gel can offer numerous benefits, but it’s essential to consider the compatibility and adhesion potential of these two products.
Will Builder Gel Adhere to Press-On Nails?
When deciding to apply builder gel over press-on nails, it’s important to consider the compatibility of the two materials. In most cases, builder gel can successfully adhere to the surface of press-on nails, as long as the nails are made from a material that allows for proper bonding. However, some press-on nails may have a glossy or coated surface that could hinder the adhesion of builder gel. For best results, opt for press-on nails with a matte or textured surface.
Benefits of Applying Builder Gel Over Press-On Nails
One of the main advantages of applying builder gel over press-on nails is the increased strength and durability it provides. Although convenient, press-on nails can be prone to lifting or popping off, particularly with extended wear. By adding a layer of builder gel, the press-on nails become more resistant to damage and can better withstand daily activities.
In addition to strengthening the press-on nails, applying builder gel can also help to extend the wear time. The extra layer of protection can prevent the press-on nails from loosening or falling off prematurely, allowing for a longer-lasting nail enhancement.
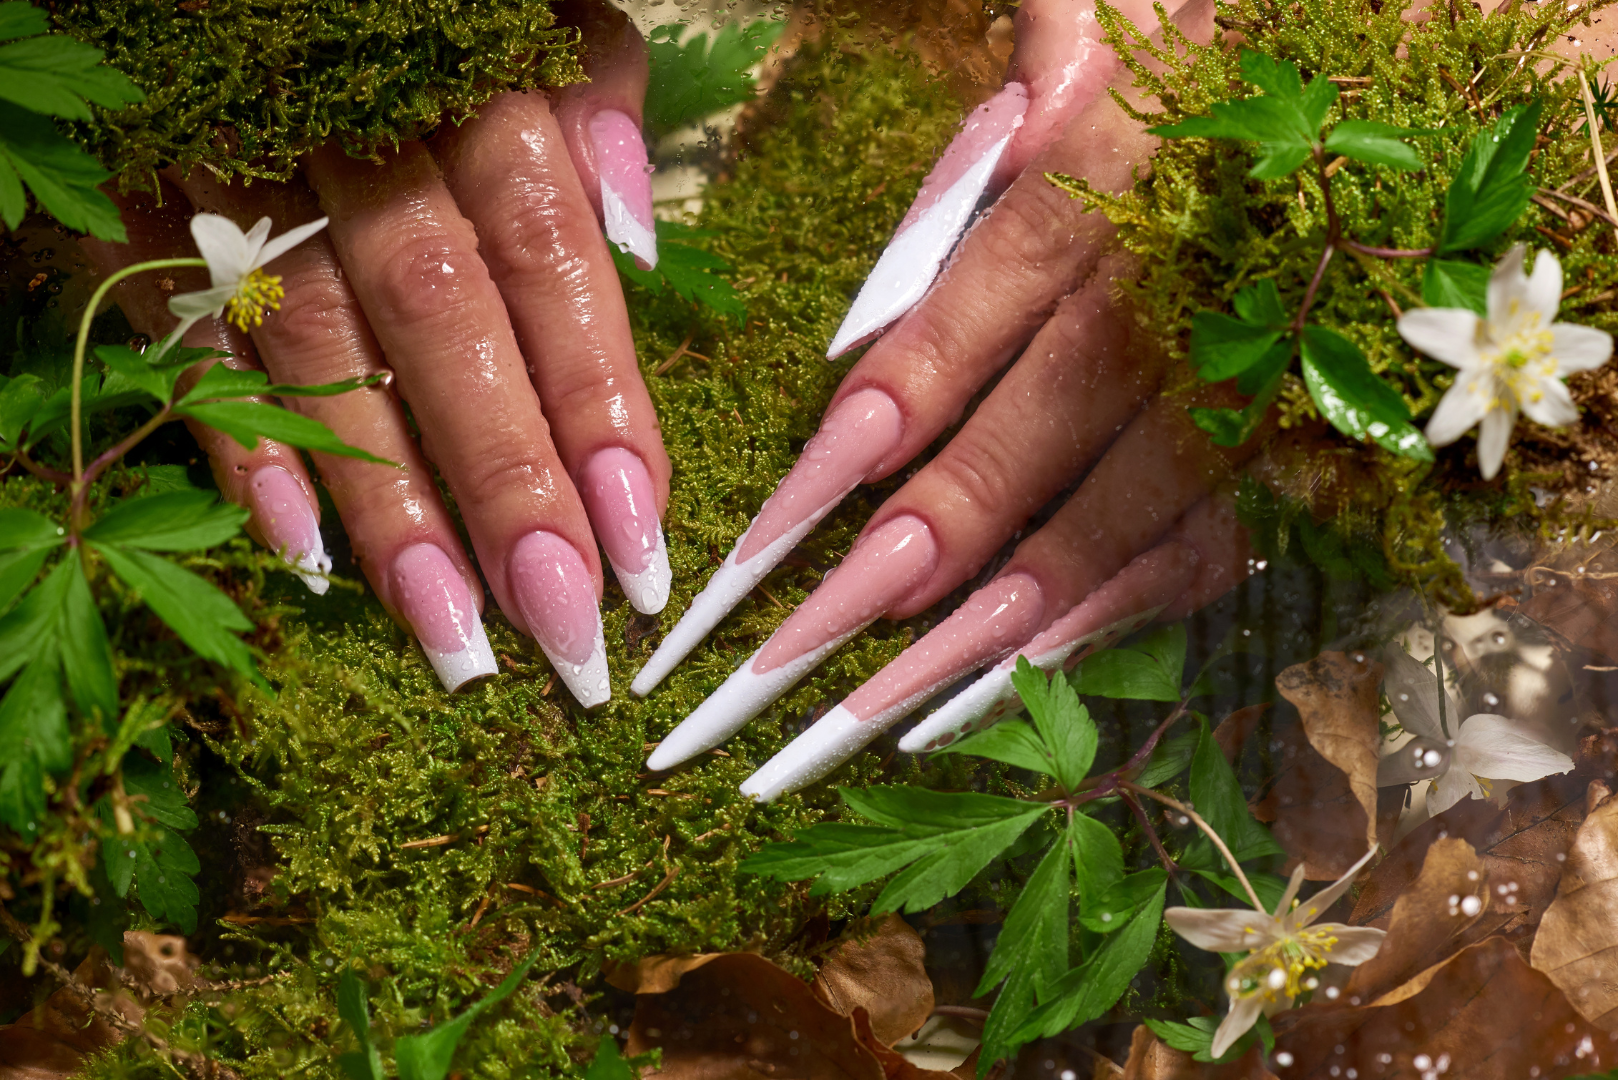
Builder gel can also enhance the overall appearance of press-on nails by providing a smooth, glossy finish. It can help to conceal any imperfections or gaps between the press-on nail and the natural nail, resulting in a more seamless and polished look. Furthermore, builder gel can serve as a base for nail art designs, allowing for greater creativity and customization.
With proper preparation and application techniques, builder gel can successfully adhere to press-on nails, providing numerous benefits such as increased strength, extended wear time, and improved appearance.

How to Apply Builder Gel Over Press-On Nails: A Step-by-Step Guide
Now that you understand the benefits of applying builder gel over press-on nails, let’s dive into the step-by-step process to achieve this nail enhancement combination.
1. Clean and Buff the Press-On Nails
Begin by thoroughly cleaning the surface of your press-on nails with an alcohol wipe or nail cleanser. This step removes any oils, dirt, or residue that may hinder the adhesion of the builder gel. Next, gently buff the surface of the press-on nails using a fine-grit nail buffer. This creates a slightly textured surface that allows for better bonding between the press-on nail and the builder gel.
2. Dehydrate the Natural Nail Plate
Apply a nail dehydrator or primer to the natural nail plate, following the manufacturer’s instructions. This step removes any remaining moisture and creates a better surface for the press-on nails to adhere to.
3. Apply a Base Coat (If Necessary)
Depending on the type of press-on nails and builder gel you are using, you may need to apply a base coat. Some builder gels require a specific base coat to ensure proper adhesion. If your builder gel does not require a base coat, you can skip this step.
4. Apply the Builder Gel
When applying builder gel over press-on nails, it’s crucial to use the correct technique to avoid air bubbles and uneven thickness. Start by applying a thin layer of builder gel to the press-on nail, using a gel brush or the applicator provided with your builder gel. Make sure to cover the entire surface of the press-on nail, including the free edge. Avoid applying too much gel at once, as this can lead to air bubbles and an uneven surface.
5. Cure the Builder Gel
Once you have applied the builder gel, cure it using a UV or LED lamp. The curing time will depend on the type of builder gel and the lamp you are using. Follow the manufacturer’s instructions for the recommended curing time. Typically, you will need to cure the gel for 30-60 seconds.
6. Apply a Top Coat
After curing the builder gel, apply a topcoat to achieve a glossy finish and provide an additional seal. The topcoat helps protect the builder gel and the press-on nails from damage and extends the wear time. Apply a thin layer of topcoat over the entire surface of the nail, including the free edge, and cure it under the UV or LED lamp as directed by the manufacturer.
By following these steps, you can successfully apply builder gel over your press-on nails, creating a durable and long-lasting nail enhancement. Remember to work carefully and take your time to ensure the best results.

Challenges and Caution for Using Builder Gel on Press-Ons
Applying builder gel over press-on nails has some potential drawbacks and requires precautions to maintain the health of your natural nails.
1. Possible Damage to Press-On Nails
The heat from the UV or LED lamp during the curing process may cause the press-on nails to warp or lift, especially if they are made from a heat-sensitive material. The weight of the builder gel can also affect the balance and fit of the press-on nails, leading to discomfort or lifting.
2. Challenging Removal Process
Adding builder gel can make it more difficult to remove the press-on nails without damaging your natural nails. It’s important to follow proper removal techniques and be patient to minimize the risk of harm. Don’t forcefully pry off the press-on nails, as this can hurt your natural nails.
3. Potential Nail Damage
Improper application or removal of builder gel can increase the risk of damage to your natural nails. Applying too much builder gel can cause nail plate dehydration and brittleness. Incorrect removal techniques, like aggressive filing or scraping, can lead to nail plate thinning and weakness. Always prioritize your natural nail health and follow best practices when using builder gel with press-on nails.
How to Maintain Press-On Nails with Builder Gel
To keep your press-on nails with builder gel looking great and your natural nails healthy, follow these maintenance tips:
1. Check for Damage Regularly
Look for any signs of lifting, cracking, or damage on your press-on nails with builder gel. If you notice any problems, deal with them quickly to prevent further damage. If a press-on nail becomes loose or lifts a lot, remove it carefully and replace it with a new one.
2. Moisturize Your Nails and Cuticles
Keep your nails and cuticles moisturized to prevent dryness and dehydration from the builder gel application and removal process. Use a nourishing cuticle oil or hand cream regularly to maintain healthy nails and skin. Read more:Tips for a Healthy Cuticle.
3. Be Gentle with Your Nails
Treat your press-on nails with builder gel gently to make them last longer and prevent damage. Avoid using your nails as tools or putting too much force on them. When doing tasks that might stress your nails, think about wearing gloves for extra protection.
Combining Press-On Nails with Builder Gel: Is It Right for You?
Applying builder gel over press-on nails can offer the best of both worlds - the convenience of press-ons and the strength of builder gel. However, it’s important to consider the potential drawbacks and follow proper techniques to maintain healthy natural nails. If you’re willing to invest time and effort into the application and maintenance process, this method might be a great option for you.


