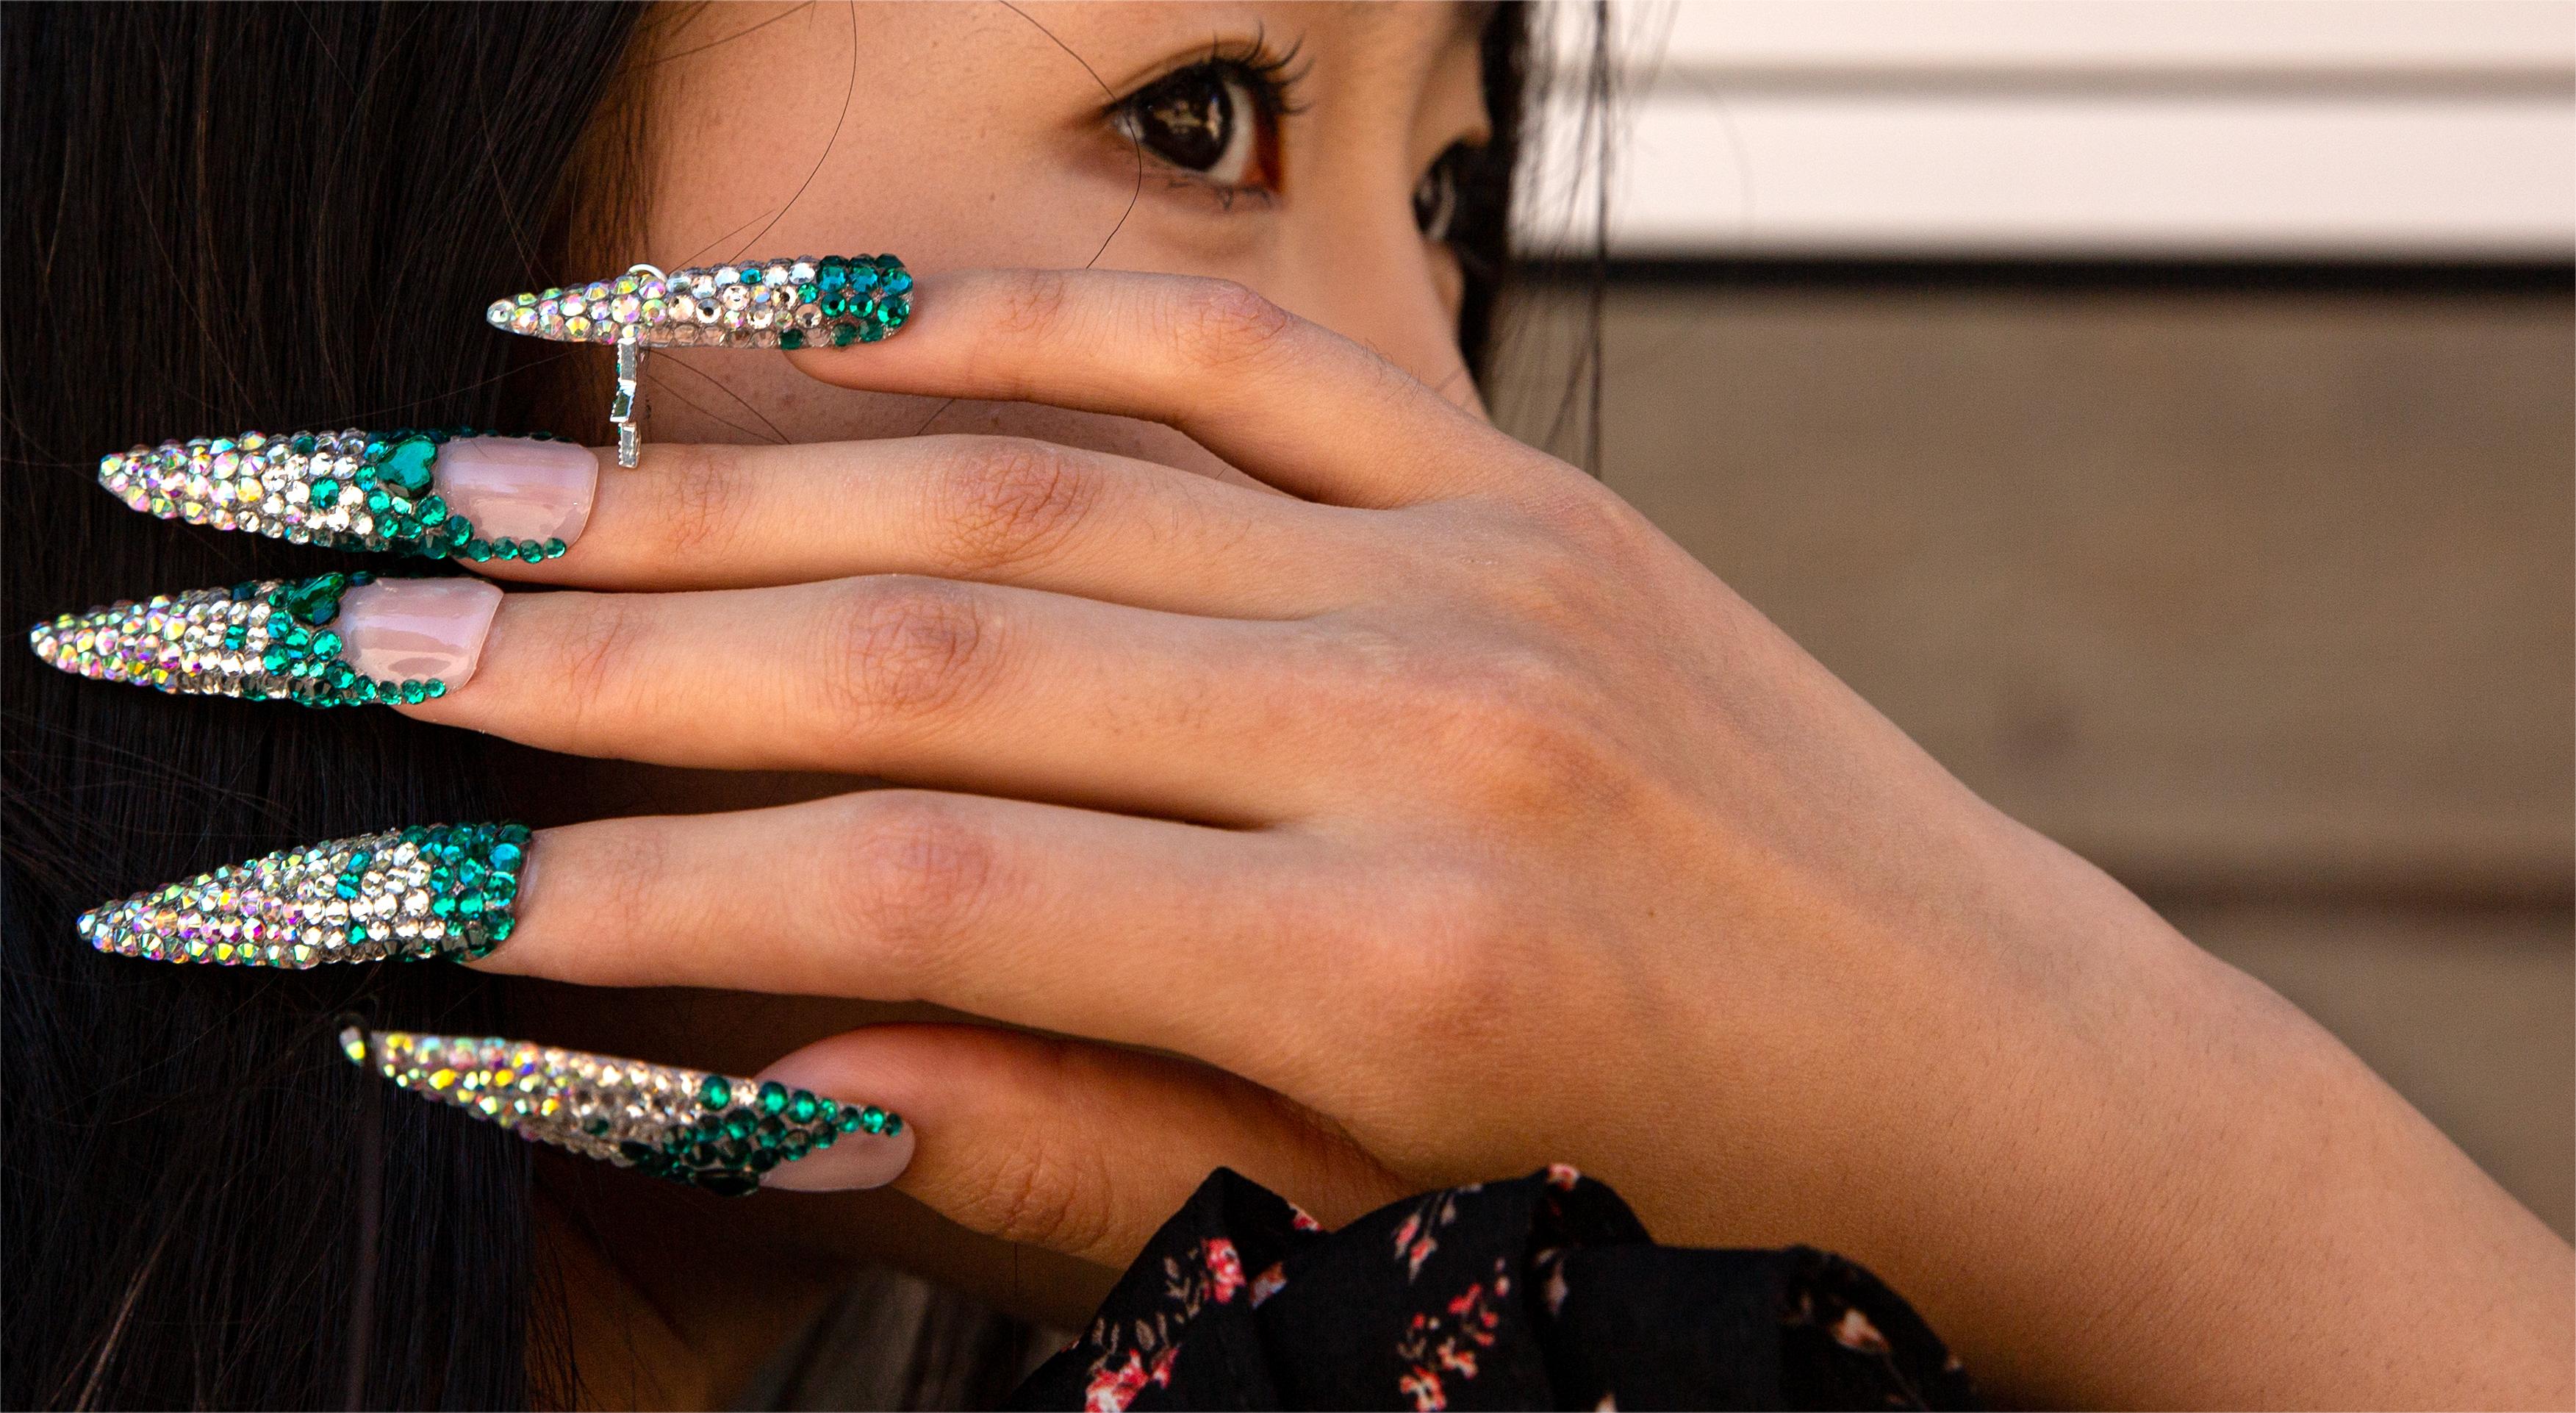
Press on nails have become increasingly popular for their convenience, affordability, and wide variety of designs. However, many people struggle with the longevity of these nails, finding that they often fall off or lift at the edges after just a few days of wear. This can be frustrating and may discourage some from using press-on nails altogether. Fortunately, there are several strategies you can employ to extend the wear time of your press-on nails, allowing you to enjoy their beauty and versatility for longer periods. In this article, we will explore a comprehensive set of tips and techniques to help you achieve the best possible results with your press-on nails.
Tip 1: Start with Clean, Buffed Nails
The foundation of long-lasting press-on nails lies in the preparation of your natural nails. Before applying press-ons, it’s crucial to ensure that your nails are free of any oils, dirt, or residue that could interfere with the adhesion of the glue. Start by washing your hands thoroughly with soap and water, then use a nail brush to gently scrub beneath your nails. Once your nails are clean, use a nail file to lightly buff the surface of each nail. This step helps to create a slightly rougher surface that the glue can better adhere to. Remember to be gentle and avoid over-buffing, as this can weaken your natural nails. Additionally, maintaining nail health through proper nutrition is essential for strong, healthy nails.
Tip 2: Avoid Oil-Based Products Before Application
After cleaning and buffing your nails, it’s essential to avoid using any oil-based products on your hands or nails. This includes hand creams, cuticle oils, and even some nail polish removers that contain moisturizing ingredients. These products can leave a residue on your nails that prevents the glue from forming a strong bond. Instead, opt for alcohol-based wipes or a pure acetone nail polish remover to clean your nails just before applying the press-ons. This extra step helps to ensure that your nails are completely free of any oils or moisture that could compromise the adhesion process.
Tip 3: Select High-Quality Nail Glue
Choosing the right nail glue can make a significant difference in how long your press-on nails last. When shopping for nail glue, look for products that come with fine-tip brushes, as these allow for more precise application and reduce the risk of excess glue squeezing out around the edges of your nails. Additionally, opt for quick-drying formulas that provide a strong, durable hold. Keep in mind that while some press-on nail kits come with glue included, you may achieve better results by purchasing a separate, high-quality glue. Understanding the best press-on nail adhesive, whether it's glue or tabs, can further enhance the longevity and appearance of your nails.

Tip 4: Ensure Correct Sizing and Shaping
One of the most important factors in achieving long-lasting press-on nails is ensuring that each nail fits your natural nail perfectly. Before applying any glue, take the time to measure and compare each press-on nail to your corresponding natural nail. If the press-on is too wide or too narrow, use a nail file to gently shape the sides until you achieve a seamless fit. Pay special attention to the curvature of your natural nails, as press-ons that are too flat or too curved may not adhere properly and can lead to lifting or gaps. By taking the time to carefully size and shape your press-ons, you’ll create a more secure and comfortable fit that will last longer.
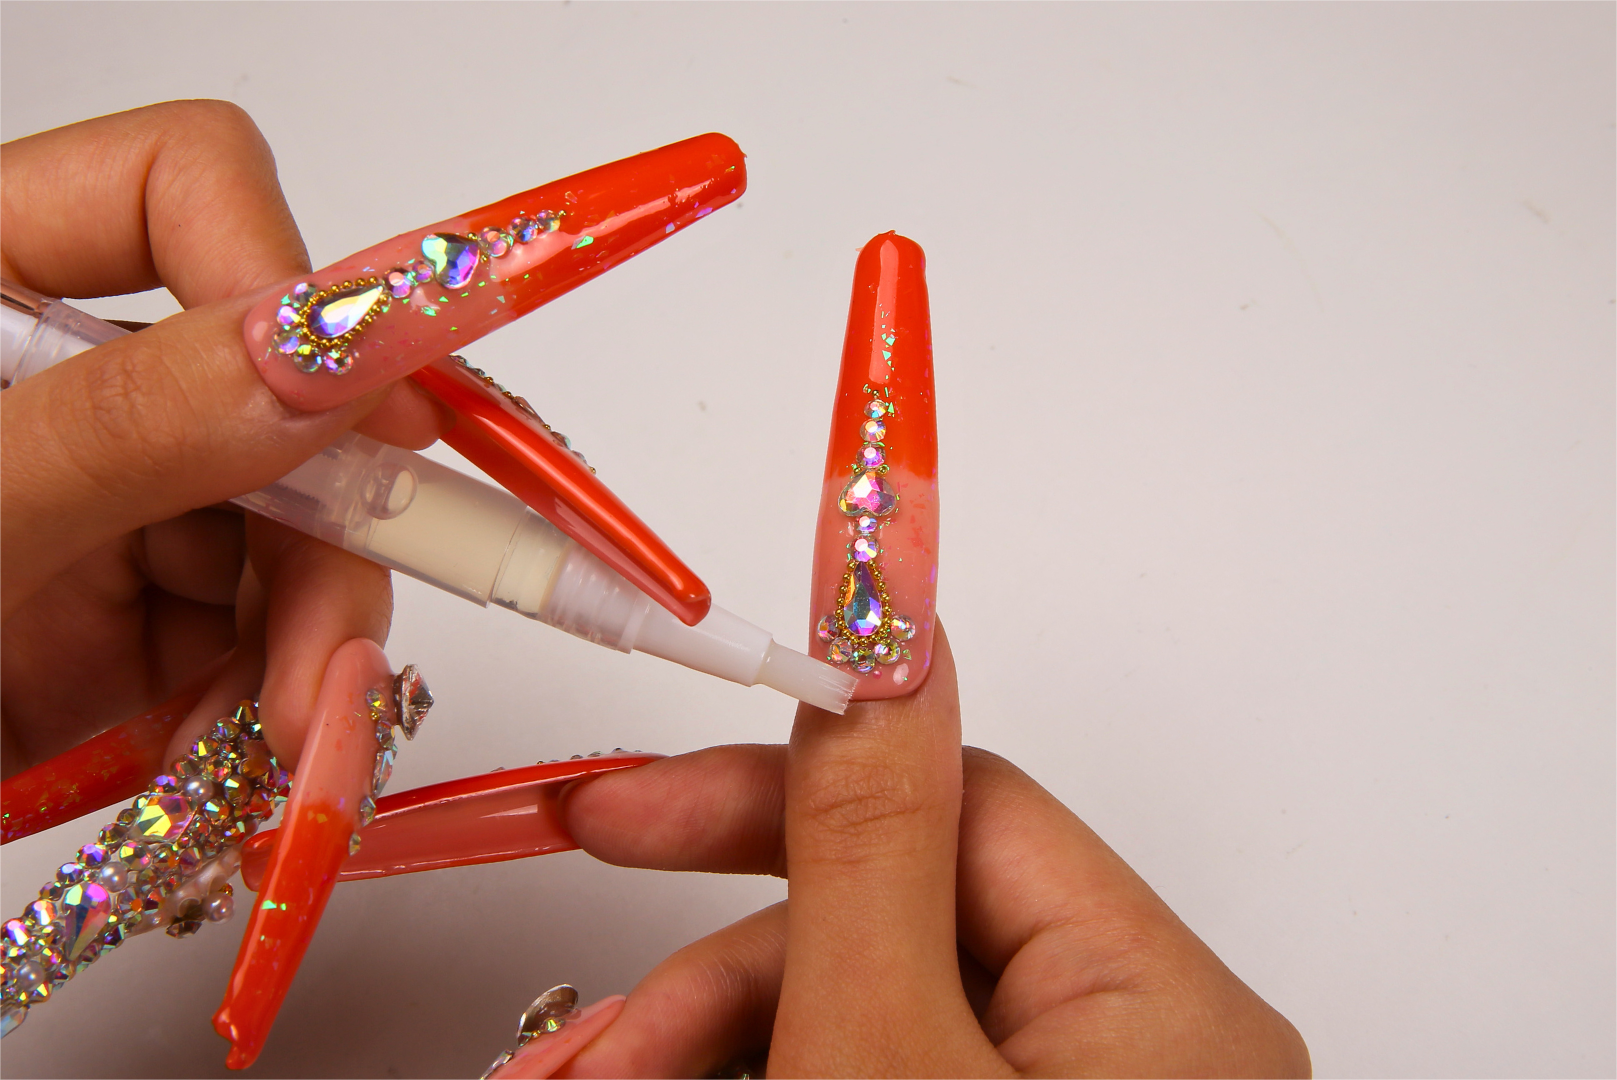
Tip 5: Apply Glue to Both Nails and Press-Ons
To achieve a stronger, longer-lasting bond, use the double gluing technique. This involves applying a thin layer of glue to both your natural nail and the underside of the press-on. Start by applying a small amount of glue to your natural nail, spreading it evenly from the cuticle to the tip. Then, apply a thin layer of glue to the underside of the press-on, focusing on the edges and center. By applying glue to both surfaces, you create a more secure bond and reduce the risk of air pockets forming between your natural nail and the press-on. This technique also helps to prevent the edges of the press-on from lifting prematurely. For more tips on avoiding air bubbles during application, check out our detailed guide.

Tip 6: Press Down Firmly and Strategically
Once you’ve applied glue to both your natural nail and the press-on, it’s time to attach the press-on to your nail. Instead of simply pressing the nail on and holding it in place, use a rolling motion to apply pressure. Start by aligning the press-on with your cuticle, then gently roll your finger from the base of your nail to the tip, applying firm pressure as you go. This rolling motion helps to evenly distribute the glue and ensures that the press-on adheres smoothly to your natural nail. Hold the press-on in place for at least 30 seconds to allow the glue to set. Repeat this process for each nail, and avoid using your hands for at least 10 minutes to give the glue time to dry completely.
Tip 7: Add a Clear Top Coat Over Press-Ons
To provide extra protection and extend the wear time of your press-on nails, apply a clear top coat over each nail once the glue has dried completely. A top coat serves two main purposes: it adds an extra layer of shine, making your press-ons look even more polished and professional, and it helps to seal the edges of the press-ons, reducing the risk of lifting or peeling. When applying the top coat, be sure to cap the tips of your nails by running the brush along the edge of each nail. This creates a protective barrier that can withstand daily wear and tear. Reapply the top coat every few days to maintain the glossy finish and reinforced seal.
Tip 8: Try the UV Gel Curing Method for a Stronger Bond
For those looking for an even stronger, longer-lasting hold, the UV gel curing method may be worth trying. This technique involves using a clear gel polish and a UV or LED lamp to cure the gel, creating a more durable bond between the press-on and your natural nail. However, it’s important to note that not all press-on nails are suitable for this method, as some may not be compatible with the gel polish or may not allow enough light to pass through for proper curing. Follow the instructions provided with your gel polish and curing lamp to ensure the best possible results.
Tip 9: Limit Water Exposure Post-Application
Water can be one of the biggest enemies of long-lasting press-on nails. To give your press-ons the best chance of staying put, it’s crucial to keep your hands as dry as possible for at least an hour after application. During this time, the glue will continue to set and cure, forming a stronger bond between the press-on and your natural nail. Avoid washing your hands, doing dishes, or engaging in any activities that may expose your nails to water or moisture. If you must do any wet tasks in the hours following application, protect your nails by wearing a pair of rubber gloves. This will help to prevent water from seeping between your natural nail and the press-on, which can weaken the adhesive and lead to premature lifting or detachment.

Tip 10: Regularly Check and Repair Edges
Even with the most careful application and maintenance, it’s not uncommon for press-on nails to experience some lifting at the edges over time. To keep your press-ons looking and feeling their best, make a habit of regularly checking the edges of each nail for any signs of separation or lifting. If you notice any areas that are starting to come loose, don’t wait for the problem to worsen. Instead, take proactive steps to repair the affected nail. Gently press down on the lifted edge to reseal it, and if necessary, apply a small amount of glue to the underside of the press-on before pressing it back down. By addressing any lifting or separation as soon as you notice it, you can help to extend the overall wear time of your press-on nails.
Tip 11: Protect Press-Ons During Physical Activities
While press-on nails can be surprisingly durable, they’re not indestructible. Certain physical activities or tasks can put extra strain on your nails, increasing the risk of damage or detachment. To keep your press-ons looking their best, take steps to protect them during these activities. For example, if you’re doing household chores like washing dishes or cleaning, wear a pair of rubber gloves to shield your nails from water, cleaning products, and physical stress. When engaging in sports or other high-impact activities, consider using rubber fingertip protectors. These small, flexible covers fit over your nails and provide an extra layer of protection against impacts, snags, and other potential hazards.
Tip 12: Give Your Nails Breaks Between Applications
While it can be tempting to wear press-on nails continuously, it’s important to give your natural nails a break between applications. This allows your nails time to “breathe” and recover from the stress of wearing artificial nails. After removing your press-ons, take a few days to a week to focus on nourishing and strengthening your natural nails. Use a moisturizing hand cream and cuticle oil to keep your nails and surrounding skin hydrated and healthy. If your nails feel weak or brittle after removal, consider applying a strengthening treatment or taking a biotin supplement to help fortify them from within. By giving your nails regular breaks and providing them with proper care, you’ll help to ensure that they remain strong and healthy, ready for your next set of press-on nails.
Enjoy Press-On Nails While Keeping Your Natural Nails Healthy
Press-on nails are a great way to get a polished look without spending a lot of time or money at a salon. By following the tips in this article, you can make your press-on nails last longer and enjoy them for more time. Start with clean nails, use good products, and make sure the press-ons fit well. Be careful with water and activities that might damage your nails, and fix any problems quickly. Don’t forget to take breaks between wearing press-ons so your natural nails can rest and stay healthy. With these tips, you can have fun with press-on nails while still taking good care of your own nails.