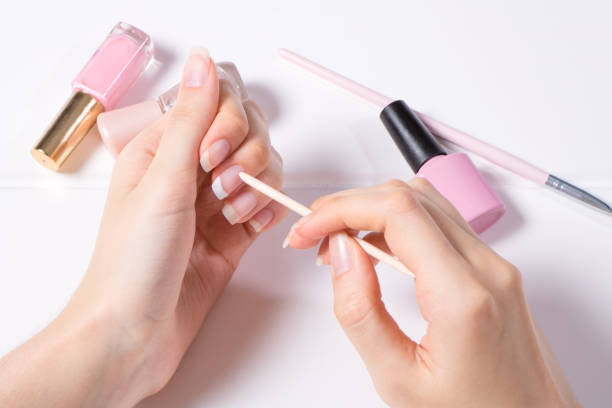
Even with careful application, hiccups can occur that disrupt your press on nail look. Whether it’s lifting, discoloration, air bubbles, or complete fall-off, dealing with these common issues swiftly is key to preventing further headaches. This guide provides easy, straightforward quick fixes to get your press-ons back in tip-top shape using just a few basic tools likely already in your home.
What Common Problems Occur with Press-On Nails?
Despite careful application, press-on nail wearers may encounter several frequent issues over time, including:
- Lifting or peeling away from the natural nail bed, often due to water exposure or improper application.
- Nails completely detaching or falling off prematurely if the adhesion fails.
- Discoloration or staining from colored polishes, makeup, and environmental factors.
- Air bubbles forming underneath if air gets trapped during application or the nail isn’t pressed down properly.
- Misalignment or crookedness if the nail sizing and placement aren’t precise.
- Weak or inadequate adhesion right from the start, resulting in poor bonding.
- Potential nail damage like chips, cracks, or thinning if removal isn’t done correctly.
Recognizing these common problems and knowing the proper fixes is key to maintaining a flawless, long-lasting press-on manicure.

Quick Fix Tool Kit for Press-On Nail Problems
Having these tools and materials on hand will allow you to quickly troubleshoot and fix any press-on nail issues:
-
Nail Glue or Adhesive
An essential item for reattaching lifted nails and reinforcing weak bonds. Nail glue or adhesive is crucial for reapplying and resecuring press-ons.
-
Cuticle Stick and Nail File
A cuticle stick or thin, flat tool helps lift loose edges to reapply adhesive and smooth out air bubbles. An emery board or nail file is useful for gently buffing away stains and discoloration.

-
Acetone or Nail Polish Remover
These solvents help break down old adhesive before reapplication, ensuring a fresh, secure bond for the new application.
-
Additional Helpful Items
- Waterproof adhesive tabs can quickly resolve lifting issues, while a clear top coat nail polish can reseal peeled or loose nail edges.
- A separate nail buffer block is handy for buffing out discoloration without damaging the nail surface.
- Cotton swabs or balls allow for precise application of adhesives, whitening products, and acetone where needed.
- Waterproof Adhesive Tabs Perfect for quickly resolving lifting issues, especially when you need a fast, temporary fix.
- Clear Top Coat Ideal for resealing peeled or loose nail edges and adding an extra layer of protection against further lifting.
- Nail Buffer Block Helps buff out discoloration without damaging the nail surface.
Having these tools and materials on hand will allow you to quickly troubleshoot and fix any press-on nail issues, preventing further damage and maintaining a flawless, long-lasting manicure.
How to Fix Lifting Press-On Nails
One of the most frequent issues with press ons nails that start to separate and lift up from your natural nails. Don’t panic - there are some simple solutions to reseal those loose nails.
Identifying the Reason for Lifting
First, think about what may have caused the nail to become undone:
- Water exposure from showering, washing hands, etc. compromises the adhesive.
- Nails weren’t properly prepped or secured during the initial application.
Easy Lifting Remedies
Once you’ve pinpointed the likely culprit, try these quick fixes:
- Use a cuticle stick to gently lift the loose edge, then reapply a fresh coat of nail glue or waterproof adhesive underneath.
- Seal the lifted edge by brushing on a layer of clear top coat polish to re-adhere the nail.
- Before the glue/top coat dries, press firmly and hold the nail in place for 60 seconds.
- Fully dry any area you’ve re-glued using a cool fan or hairdryer air setting.
By reapplying adhesive, sealing edges, pressing firmly, and drying completely, you can easily resecure lifting press-ons. With a few quick steps, your nails will look freshly applied again.
How to Handle Missing or Fallen-Off Nails
Occasionally, despite your best efforts, a press-on nail may fully detach or fall off completely. Don’t stress - you can easily replace it.
1. Clean the Natural Nail Bed
Gently buff away any adhesive residue on your natural nail using a soft nail file or buffer. Ensure the surface is smooth and free of debris.
2. Prepare a Replacement Nail
Find a new press-on nail that best fits the size and shape of your natural nail. Buff the underside lightly to help adhesion.

3. Use Additional Adhesive
Apply a fresh layer of nail glue or adhesive generously to the underside of the replacement nail. You want extra sticking power.
4. Ensure Correct Alignment
Carefully line up and press the new nail down in the proper position on your natural nail. Double check the alignment matches your other nails.
5. Firmly Press and Hold
Once aligned, give the nail a firm pressing all over for 60 seconds to fully adhere and secure it in place.
You can seamlessly fix any fallen nails with some easy prep, ample fresh adhesive, and patient pressing.
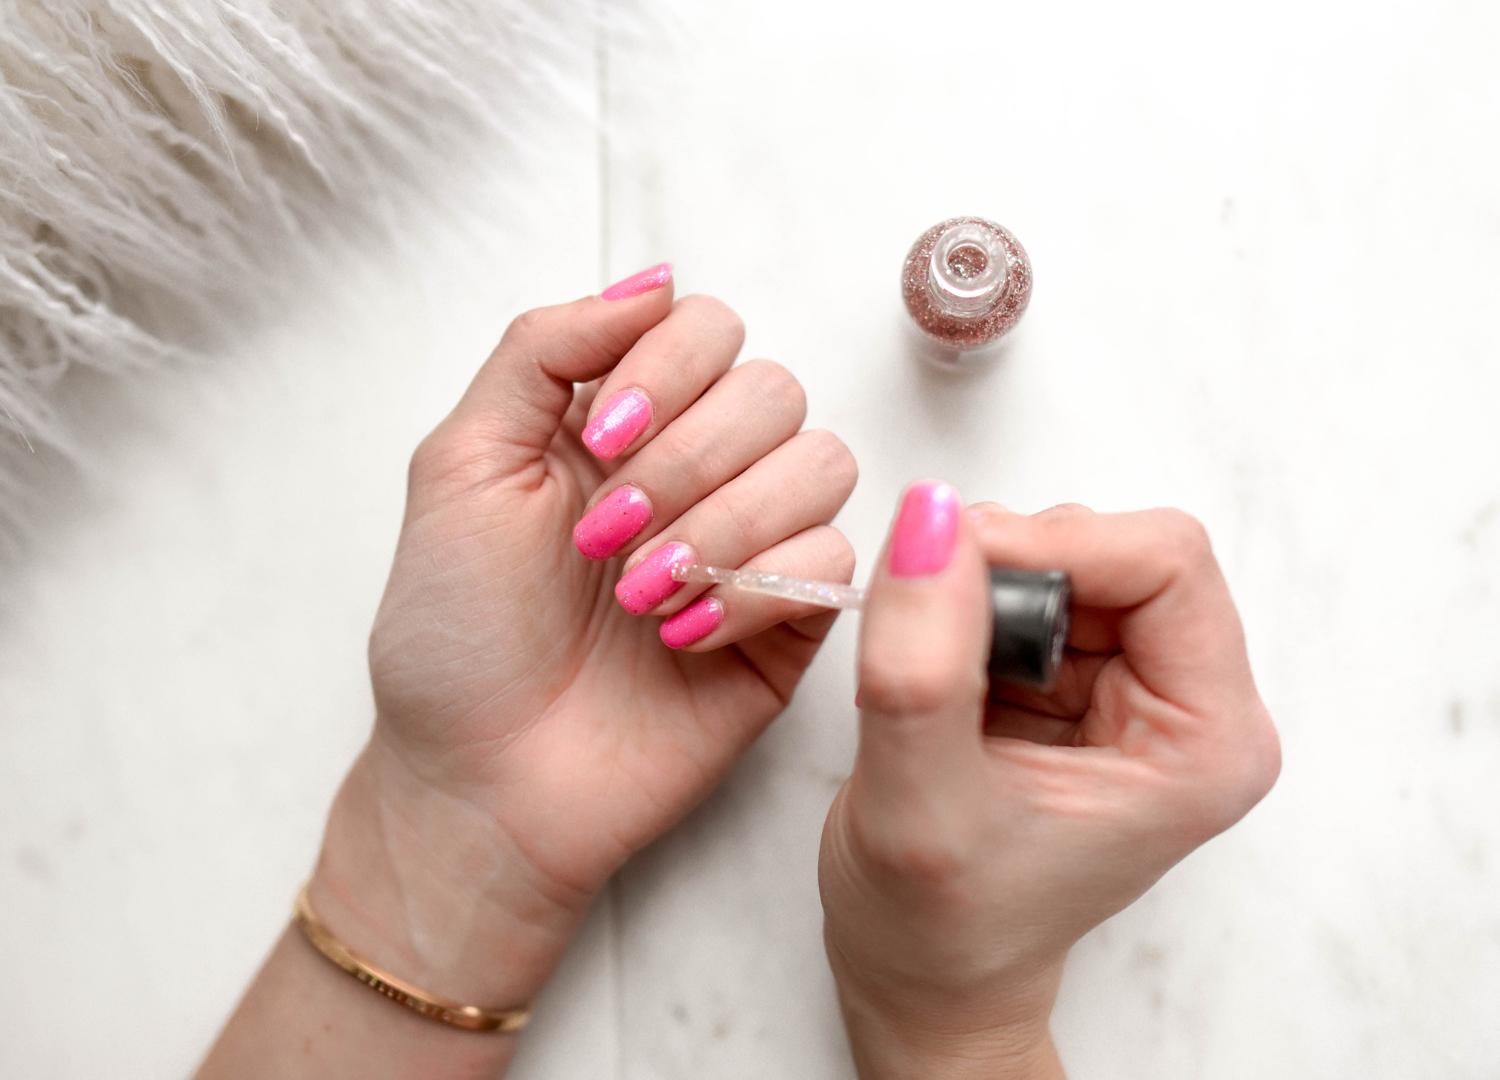
How to Fix Discolored or Stained Press-On Nails
Over time, your once pristine press-on nails can start to look dull, yellowed or stained from pigments, products or environmental factors. But don’t toss them yet!
Prevention Tips
To avoid future discoloration, try these proactive steps:
- Apply a Base Coat: Before applying dark or heavily pigmented press-ons, brush on a clear base coat. This creates a protective barrier between the nail and potential staining agents.
- Avoid Known Culprits: Common causes of nail staining include hair dyes, makeup, self-tanners, and even smoking. Minimize exposure when wearing press-ons.
Stain Removal Remedies
- Gentle Buffing: For surface stains, carefully buff the top of the discolored nail using a separate nail buffer block. Buff in a circular motion until the stain fades.
- Whitening Pastes: Make a baking soda and water paste or use a dollop of whitening toothpaste. Gently rub this over stained nails with a cotton swab, rinse clean.
With a bit of preventative care and the right stain removal techniques, you can restore the fresh, bright appearance of your press-on nails with ease.
How to Resolve Pesky Air Bubbles Under Press-Ons
Air bubbles can unexpectedly form under your press-on nails during application, but don't worry—there are tips to avoid air bubbles when applying your press-on nails in the first place. But there are also some easy fixes to smooth out those unsightly pockets and bumps if they do happen.
Lifting and Reapplying
For stubborn bubbles, you may need to gently lift off the entire press-on nail using a cuticle stick. Give the underside and your natural nail a wipe with polish remover, then reapply using firm, even pressure.
Using the Cuticle Stick
Try pressing a cuticle stick over smaller air pockets to massage and flatten out the bubbles without fully removing the nail.
Filing Down Edges
You can also carefully run a nail file over the outer edges of the press-on where bubbles tend to form. This helps smooth down any raised areas trapping air.
Just some easy lifting, pressing, and filing techniques can help banish those pesky air bubbles from under your nails. A little troubleshooting restores a flawless, smooth press-on application.
How to Correct Misaligned Press-On Nails
Even with careful sizing, press-on nails can sometimes end up crooked or misaligned from your natural nail lines. But don’t fret - realignment is easy if caught early.
Repositioning Techniques
- Gently Lifting the Nail: As soon as you notice a misaligned press-on, use a cuticle stick to gently lift and release the edge from your natural nail. Work slowly to avoid damaging the nail.
- Align the Nail: Before the adhesive fully sets, realign the press-on nail so that it follows the natural line of your nail bed. Make sure the edges are straight and the nail is centered.
- Press Firmly: Once you’re satisfied with the alignment, press down on the nail firmly for 60-90 seconds. This helps the adhesive bond securely in the correct position.
- Double Check: After pressing, take a final look to ensure the nail is straight. If it’s still misaligned, you can gently lift and adjust again before the adhesive cures completely.
Preventative Measures
- Ensure Proper Sizing: To avoid misalignment issues, always carefully select press-on nail sizes that best match the size and shape of your natural nails.Read more: how to choose the right size of press-on nails.
- Double Check Initial Placement: During application, take a moment to inspect the alignment after pressing each nail down before the adhesive cures. Adjust positioning as needed.
With a little attentiveness during sizing and initial application, you can prevent misaligned nails. And if one does shift out of place, simply lift and quickly realign before the adhesive sets.
How to Strengthen Weak Press-On Nail Adhesion
If nails are lifting or popping off too easily, the issue is likely weak or inadequate adhesion. Here’s how to reinforce it:
Causes of Weak Adhesion:
- Incorrect sizing, prep, or application technique.
- Using low-quality, cheap nail adhesives.
Solutions for Stronger Adhesion:
- Use high-quality, long-lasting, waterproof press-on nail adhesive.
- Apply an extra layer or two of adhesive to nail and nail bed.
- Once positioned, press nail firmly all over for 60-90 seconds.
Techniques:
- Invest in premium nail glue formulated for press-ons.
- Be generous with adhesive application.
- Apply even, maximum pressure when securing nails.
- Allow proper cure time before use.
Using the right adhesive products and diligent application pressing can ensure your press-on nails have a reliable, long-lasting grip that lasts.
How to Minimize Nail Damage Upon Removal
While press-on nails are designed for easy removal, taking them off improperly can lead to issues like cracking, peeling, or thinning of your natural nails underneath. To avoid damage, follow these careful removal tips:
Proper Removal Techniques
- Soaking Method: One of the gentlest removal methods is to soak your fingers in warm water or an oil soak for 10-15 minutes. This helps loosen and release the adhesive’s grip so nails can be gently popped off.
- Using Polish Remover: You can also carefully use an acetone-based nail polish remover. Soak a cotton ball in acetone and hold it against each nail for 1-2 minutes to break down the adhesive. Once the adhesive is loosened, gently slide the press-on nail off. Be careful not to force the nail off, as this can cause damage.
Post-Removal Care
- Moisturize: After removing press-ons, always replenish any lost moisture by gently massaging a nutrient-rich cuticle oil into the entire nail and surrounding skin.Learn more about nail care.
- Buffing: Use a soft buffer to lightly buff away any adhesive residue left on your natural nails. This smooths the surface and preps nails for your next manicure.
A little extra care ensures your natural nails stay in great shape!
Achieving Flawless Press-On Nails Every Time
No matter how carefully you apply press-on nails, issues like lifting, discoloration, air bubbles, or misalignment can still occur. However, with the right tools and techniques, you can quickly fix these common problems and restore your manicure to perfection. By keeping nail glue, cuticle sticks, files, and other essentials on hand, you’ll be prepared to reseal loose nails, replace fallen ones, remove stains, and smooth out bubbles. Remember to take preventative measures like using base coats and avoiding staining agents. When it’s time for removal, follow the proper soaking and buffing steps to protect your natural nails.