Blue French Tip Nails: Guide to Mastering Press-On Nails at Home
DIY press-on nails are a fantastic way to achieve salon-quality manicures from the comfort of your own home. With Lovful's stylish blue French tip design, you can enjoy the elegance and trendiness of professional nails without the high costs and time-consuming trips to the salon. This guide will walk you through the benefits and steps of applying press-on nails, making it easy and convenient for anyone to enjoy beautiful, long-lasting nails. Whether you're a newbie or a seasoned DIY enthusiast, Lovful's products and this simple tutorial will help you master the art of press-on nails effortlessly.

What Are Press-On Nails?
Press-on nails are pre-designed artificial nails that can be easily applied at home. They come in various shapes, sizes, and designs, offering a quick and convenient way to achieve a polished look without the need for a professional manicure. Press-on nails are typically made from acrylic or gel and are designed to fit over your natural nails.
Benefits of Press-On Nails
- Convenience: One of the biggest advantages of press-on nails is their ease of use. You can apply them in the comfort of your own home, saving time and money compared to regular salon visits.
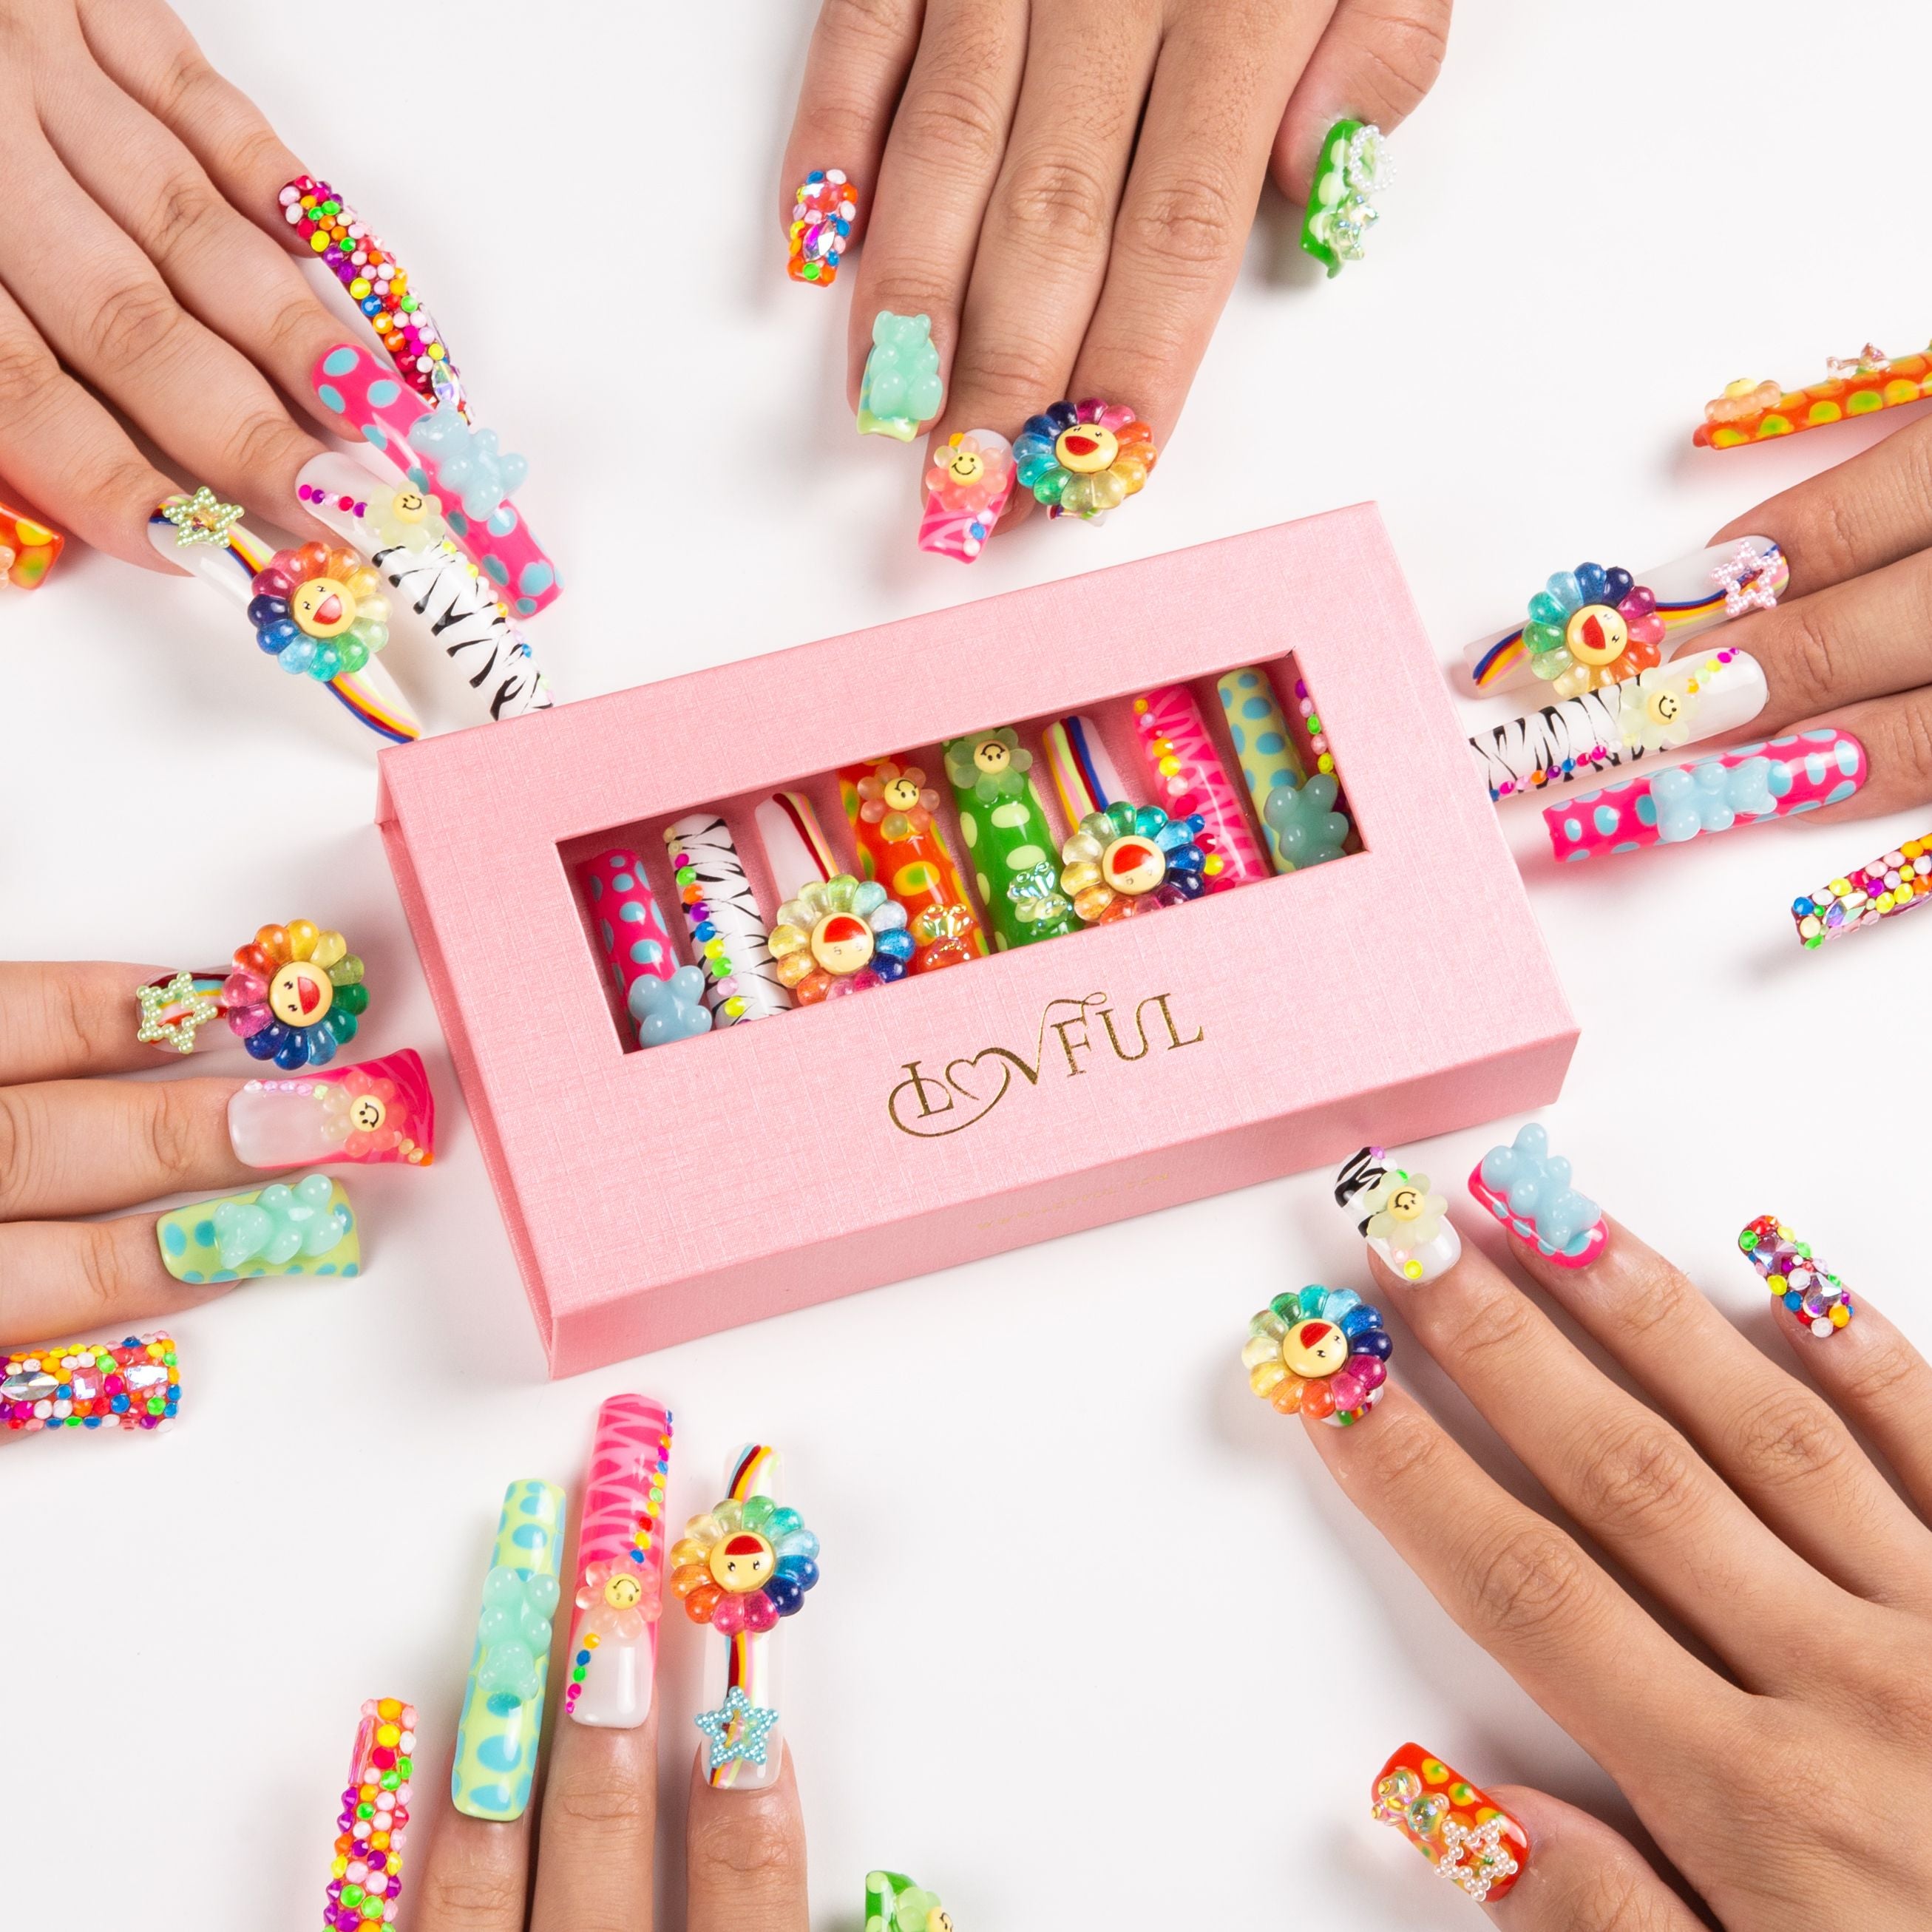
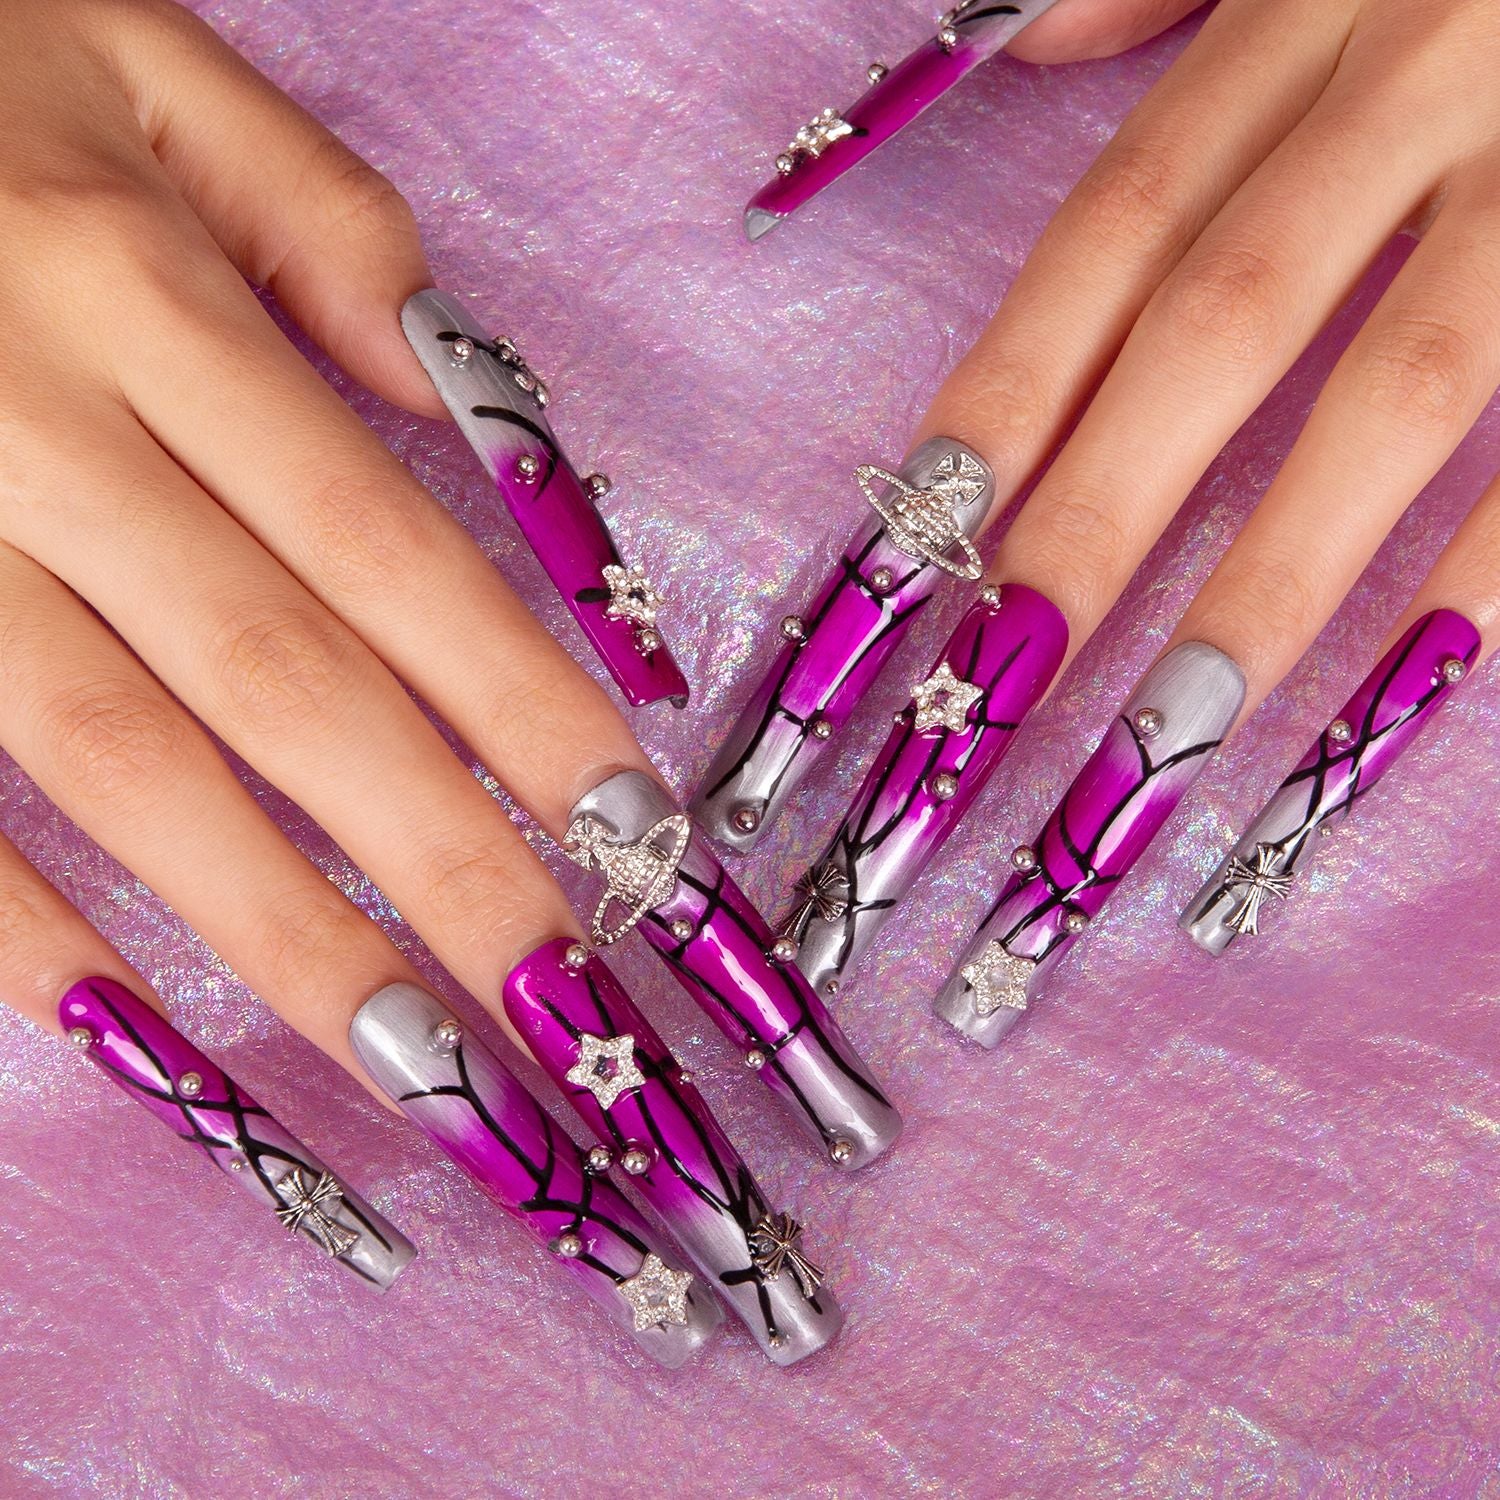
- Variety of Designs: Press-on nails, including Lovful's blue French tip design, come in an array of styles and colors, allowing you to change your look as often as you like. Whether you prefer something classic or trendy, there's a press-on nail design for you.
- Minimal Damage: Unlike some salon treatments that can weaken your natural nails, press-on nails are less damaging. They don't require harsh chemicals or extensive filing, making them a healthier option for your nails. Click to read more: Nail Health and Nutrition Tips.
Focus on Blue French Tip Nails
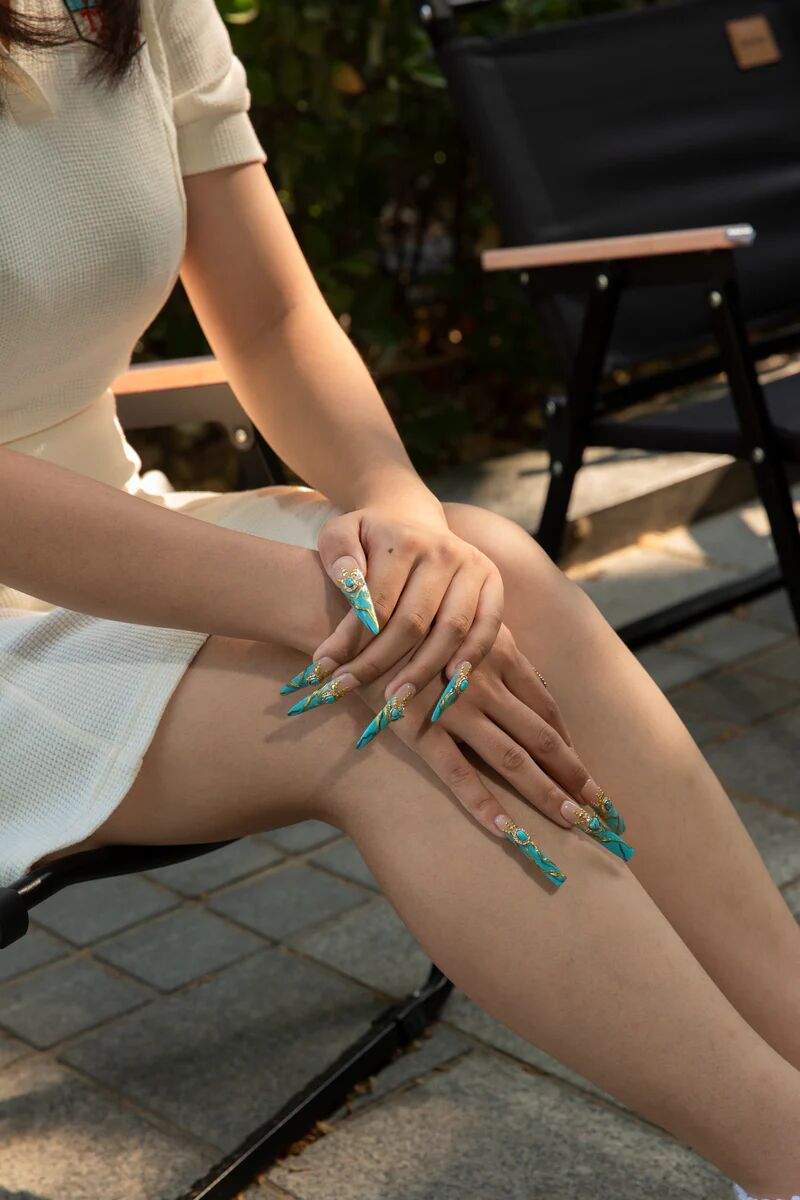
The blue French tip design is a modern twist on the classic French manicure. It combines the timeless elegance of French tips with a pop of vibrant blue color, perfect for adding a stylish edge to your look. This design suits various occasions, from daily wear to special events, and can be easily achieved with Lovful's press-on nails

Why DIY Press-On Nails?
Choosing to do your own press-on nails at home comes with numerous advantages. Let's explore why DIY press-on nails are a great option for anyone looking to maintain beautiful nails without the hassle.
1. Cost Comparison: Salon vs. DIY
Getting your nails done at a salon can be quite expensive, especially if you prefer getting manicures regularly. A single salon visit can cost anywhere from $30 to $60, and that's for a basic manicure. More intricate designs or specialty services can push the price even higher. In contrast, DIY press-on nails are significantly more affordable. A Lovful Press-On Manicure Kit, which can be used multiple times, costs a fraction of a single salon visit. Over time, the savings add up, making DIY press-on nails a cost-effective option.
2. Time-Saving Benefits
DIY press-on nails save you not only money but also time. A typical salon visit can take a few hours, including travel time, waiting, and the manicure itself. On the other hand, applying press-on nails at home takes about 20-30 minutes. This means you can fit it into your schedule more easily, without the need for appointments or waiting around.
3. Convenience and Flexibility
One of the greatest advantages of DIY press-on nails is the convenience they offer. You can apply them whenever you want, whether it's late at night or early in the morning. There's no need to adhere to salon hours. Furthermore, press-on nails allow you to change your nail design frequently. With Lovful's variety of styles, including the trendy blue French tip、Elegant Pink Stiletto Nails、amazingly cool collection of duck-shaped press-on nails, you can switch up your look to match your outfit or mood effortlessly.
4. Creative Freedom
DIY press-on nails give you the freedom to experiment with different designs and styles. While salons may have a limited selection, Lovful offers a wide range of press-on nails, allowing you to express your creativity. Whether you prefer classic, bold, or intricate designs, you can find press-on nails that suit your personal style.

How to Apply Press-On Nails at Home
Applying press-on nails at home is simple and straightforward. Follow these easy steps to achieve a professional-looking manicure with Lovful's press-on nails.
Step 1: Gather Your Tools
Before you start, make sure you have all the necessary tools:
- Lovful Press-On Manicure Kit: This kit includes the press-on nails, adhesive tabs or glue, and sometimes a mini nail file.
- Basic Manicure Tools: You'll need a nail file, buffer, cuticle stick, and nail polish remover or alcohol wipes.
Step 2: Prep Your Nails
Proper preparation ensures that your press-on nails adhere well and last longer.
- Clean Your Nails: Use nail polish remover or alcohol wipes to remove any old polish, oils, or residue from your nails.
- Shape Your Nails: Trim and file your natural nails to your desired shape, making sure they are even.
- Buff the Surface: Gently buff the surface of your nails to create a rougher texture for better adhesion.
- Push Back Cuticles: Use a cuticle stick to gently push back your cuticles, creating a clean base for the press-on nails.
Step 3: Select and Apply the Nails
Choosing the right size and applying the nails correctly is crucial for a natural look.
- Choose the Right Size: Select the press-on nail that best fits each of your natural nails. If needed, file the press-on nails to fit perfectly.
- Apply Adhesive: Depending on the kit, you'll either use adhesive tabs or nail glue. Apply the adhesive to the press-on nail or directly to your natural nail.
- Press and Hold: Align the press-on nail with your cuticle and press down firmly, holding it in place for about 10-15 seconds to ensure a secure bond.
Step 4: Customize and Shape
After applying the nails, you can customize them to your liking.
- Trim and File: If the press-on nails are too long, trim them to your desired length using nail clippers.
- Shape the Nails: Use a nail file to shape the edges of the press-on nails, ensuring they look natural and even.
- Perfect the Design: Make sure the blue French tip design is symmetrical and neat. You can touch up any imperfections with a blue nail polish if needed.
Step 5: Finish and Maintain
To keep your nails looking great, follow these final steps.
- Apply a Top Coat: For added shine and durability, apply a clear top coat over your press-on nails.
- Avoid Excessive Water Exposure: Try to keep your nails dry, especially in the first few hours after application, to help the adhesive set properly.
- Maintenance Tips: If a nail starts to lift, you can reapply adhesive or glue to secure it back in place. Store any remaining press-on nails and adhesive in a cool, dry place for future use.
With these easy steps, you'll have beautiful, professional-looking nails in no time, all from the comfort of your home. Enjoy the confidence and style that come with perfectly applied Lovful press-on nails.

Nail Your DIY Press-On Game with Lovful
Elevate your nail game with Lovful's DIY press-on nails. Here's how to make the most of your press-on nail experience.
Experiment with Different Designs
Change your look whenever you want with press-on nails.
- Try Various Styles: Lovful offers a range of designs, from Little Blue Bear to Gemini French tips. Find what suits you best.
- Mix and Match: Combine different sets or add glitter and stickers for a unique touch.
Enjoy the Ease and Satisfaction of DIY
DIY press-on nails are both fun and easy.
- Simple Application: Achieve professional results without special skills.
- Quick Changes: Change your nails to match your outfit, mood, or occasion in minutes.
Discover Creative Freedom
Express your personal style with Lovful press-on nails.
- Personalize Your Nails: Use nail art pens, decals, or polish to customize your press-ons. The blue French tip design is perfect for adding personal touches.
- Seasonal and Themed Looks: Create nails that reflect the seasons, holidays, or special events.
Maintain and Extend the Life of Your Press-On Nails
Get the most out of your press-on nails with proper care.
- Touch-Up Tips: If a nail starts to lift, reapply adhesive or glue. Keep a small kit with you for quick fixes.
- Protect Your Nails: Avoid using your nails as tools, and wear gloves when doing household chores.
Lovful makes it easy to master DIY press-on nails and enjoy beautiful, salon-quality nails at home. Have fun exploring your creativity and enjoy the flexibility of DIY nail art.
Get Started with Lovful Press-On Nails Today!
DIY press-on nails offer a cost-effective, time-saving, and flexible way to maintain beautiful nails, allowing you to experiment with various designs and express your creativity. With Lovful, achieving salon-quality nails at home has never been simpler or more fun. Start your DIY press-on nail journey today and enjoy stunning, professional-looking nails anytime you want!


