Maintaining well-groomed nails is an essential aspect of personal hygiene and beauty. Whether you prefer a classic French manicure, bold and bright colors, or intricate nail art designs, having your nails polished can boost your confidence and complement your overall appearance. However, even the most extravagant nail designs and colors cannot overshadow the importance of maintaining basic nail hygiene in warding off potential issues and infections.
As you'll learn in our other blog post on the importance of nail hygiene and preventing infections and problems, hygiene is as crucial as aesthetics in nail care. However, even the most carefully applied nail polish can sometimes result in frustrating problems that can ruin your entire look. In this blog post, we will discuss some common nail polish problems and provide you with simple solutions to fix them, so you can keep your nails looking flawless while ensuring they're healthy at the same time.
Common Nail Polish Problems and Solutions
Smudged Nail Polish
You’ve spent time carefully painting your nails, but accidentally smudge the polish before it dries. Don’t reach for the remover just yet! Try this simple fix:
- Let the smudged polish dry completely.
- Lightly dampen a clean fingertip with saliva.
- Gently smooth the smudge towards the nail’s edge using a soft, sweeping motion.
- Avoid applying too much pressure to prevent spreading or distorting the polish.
- Repeat if needed until the smudge is less noticeable.
- Allow the polish to dry completely before applying a fresh top coat.
The dampness from your fingertip helps soften and blend the smudged polish back into your manicure. Work slowly with light pressure for the best results.
This technique may not erase the smudge completely but can minimize its appearance, saving you time and frustration. It’s a great way to salvage your manicure without starting over.
Chipped Polish
Chipped nail polish can make your manicure look old and untidy. To prevent chipping, apply a top coat every three days to seal in the polish and protect it from daily wear. For the best results, consistently reapply the top coat every three days, even after the initial application. Additionally, using a quick-dry top coat after each fresh manicure can further prevent smudging and ensure long-lasting shine. Incorporate a weekly habit of soaking your nails in cold water for 3-5 seconds to help harden the polish and enhance its durability.
If you get a chip and don’t have the matching polish color, try this quick fix:
- Gently file the chipped area to create a smooth edge.
- Apply a thin layer of clear base coat to the chipped area and let it dry completely.
- Using a glitter nail polish, cover the chip with a thin layer of sparkle.
- Seal the glitter with a layer of clear top coat.
This creates a cute accent nail and extends the life of your manicure. For a cohesive look, apply the glitter polish to the same nail on your other hand.
Regular touch-ups and preventive measures like applying top coats help keep your nails chip-free for longer, maintaining a polished appearance.
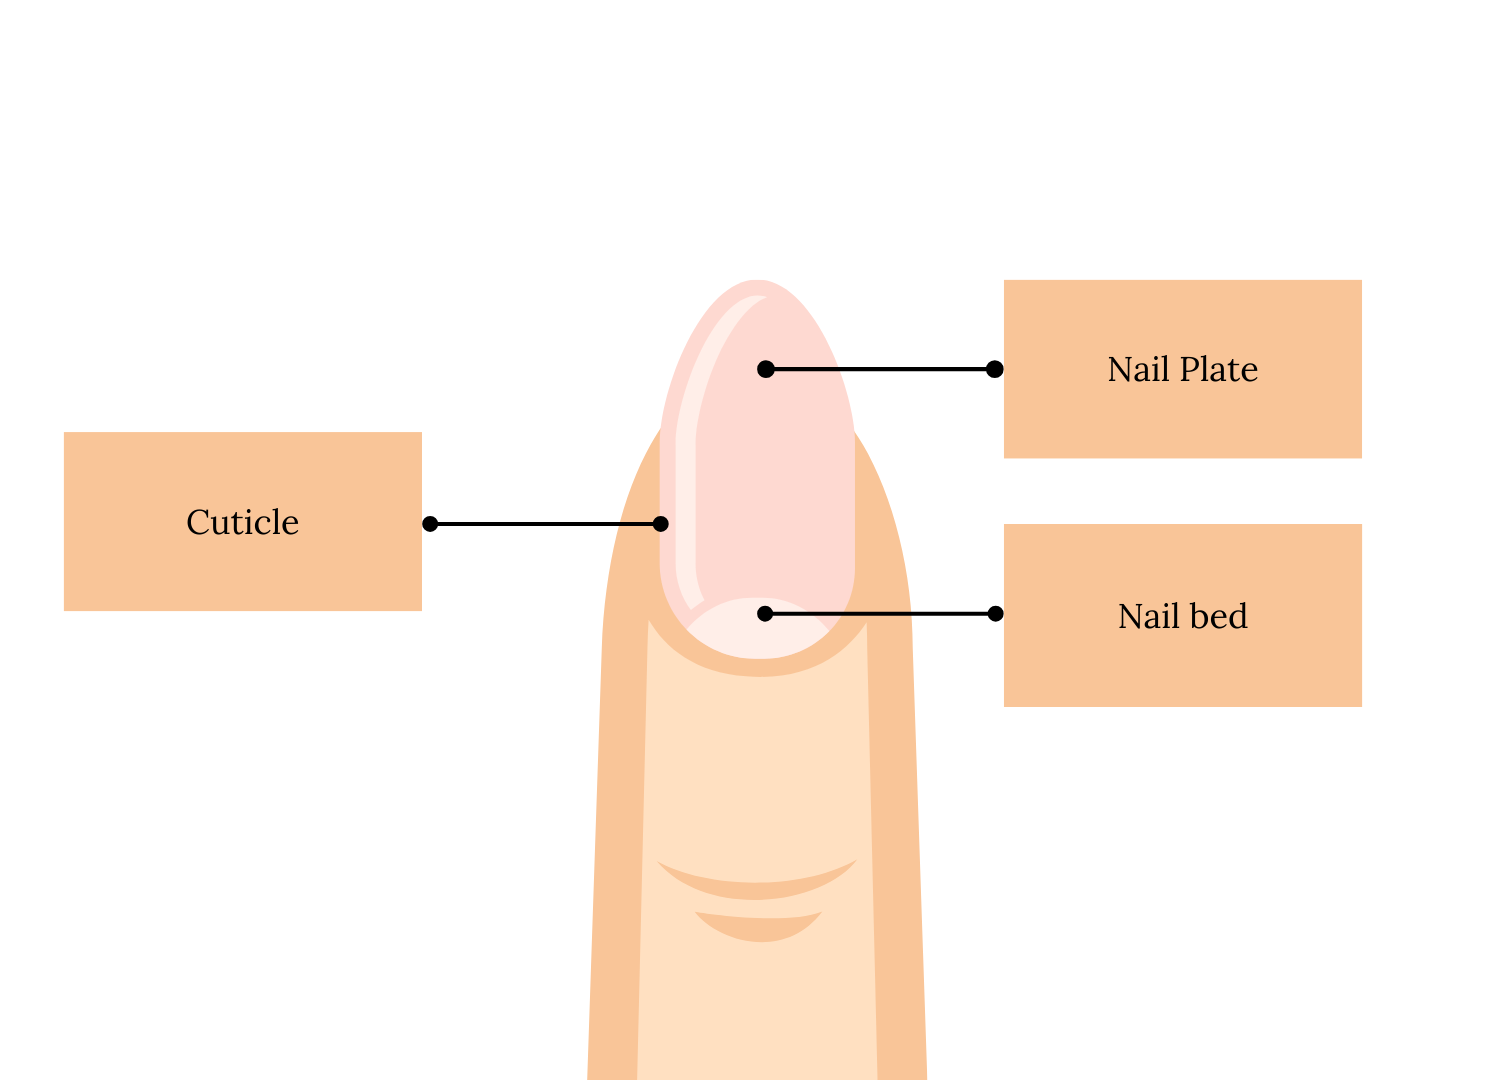
Polish on Cuticles
Accidentally getting nail polish on your cuticles or skin is a common mishap during at-home manicures. To clean up the mess without ruining your freshly painted nails, follow these steps:
- Allow the nail polish to dry completely before attempting to remove the excess.
- Use a polish remover pen for precise clean-up. These pens have a fine tip that allows you to target small areas without affecting the rest of your manicure. Gently trace the pen along the cuticle or skin to remove the unwanted polish.
- If you don’t have a polish remover pen, dip a small, pointed cotton swab or an old lip brush in nail polish remover. Be sure to squeeze out any excess liquid to avoid oversaturating the area.
- Carefully outline the cuticle or skin with the cotton swab or brush, removing the stray polish. Avoid touching the painted nail surface to prevent smudging or chipping.
- For stubborn polish stains on the skin, apply a small amount of petroleum jelly or cuticle oil before washing your hands with soap and water. This will help loosen the polish, making it easier to remove.
Remember, it’s best to clean up any mistakes before applying a top coat, as the clear polish can seal in the errors, making them more challenging to fix.Achieving professional and flawless results isn't just about clean-up methods; mastering the full scope of applying and maintaining acrylic nails can help in achieving salon-perfect nails at home. Dive deeper into our comprehensive guide to learn all the tips and tricks for immaculate nails.
Stuck Brush
A stuck nail polish brush can make application frustrating and uneven. To free the brush, follow these simple steps:
- Saturate a cotton pad or paper towel with nail polish remover.
- Wrap the soaked pad or towel around the neck of the polish bottle, covering the stuck brush.
- Let it sit for 1-2 minutes to allow the remover to penetrate the dried polish.
- Gently wiggle the brush to loosen it from the bottle’s neck.
- If the brush remains stuck, use tweezers to carefully pull it out.
- Clean the brush and bottle neck with the remover-soaked pad to remove any remaining dried polish.
- Reinsert the brush and screw the cap tightly.
To prevent future sticking, always clean the brush and bottle neck with remover before storing. Avoid leaving the brush exposed to air for extended periods, as this can cause the polish to dry and harden.
If the brush is severely damaged or misshapen, consider replacing it with a spare from an old nail polish bottle or purchasing a new one from a beauty supply store.

Removing Glitter Nail Polish
Glitter nail polish adds sparkle and glamour to your manicure but can be a challenge to remove. The following method effectively removes glitter polish without excessive scrubbing:
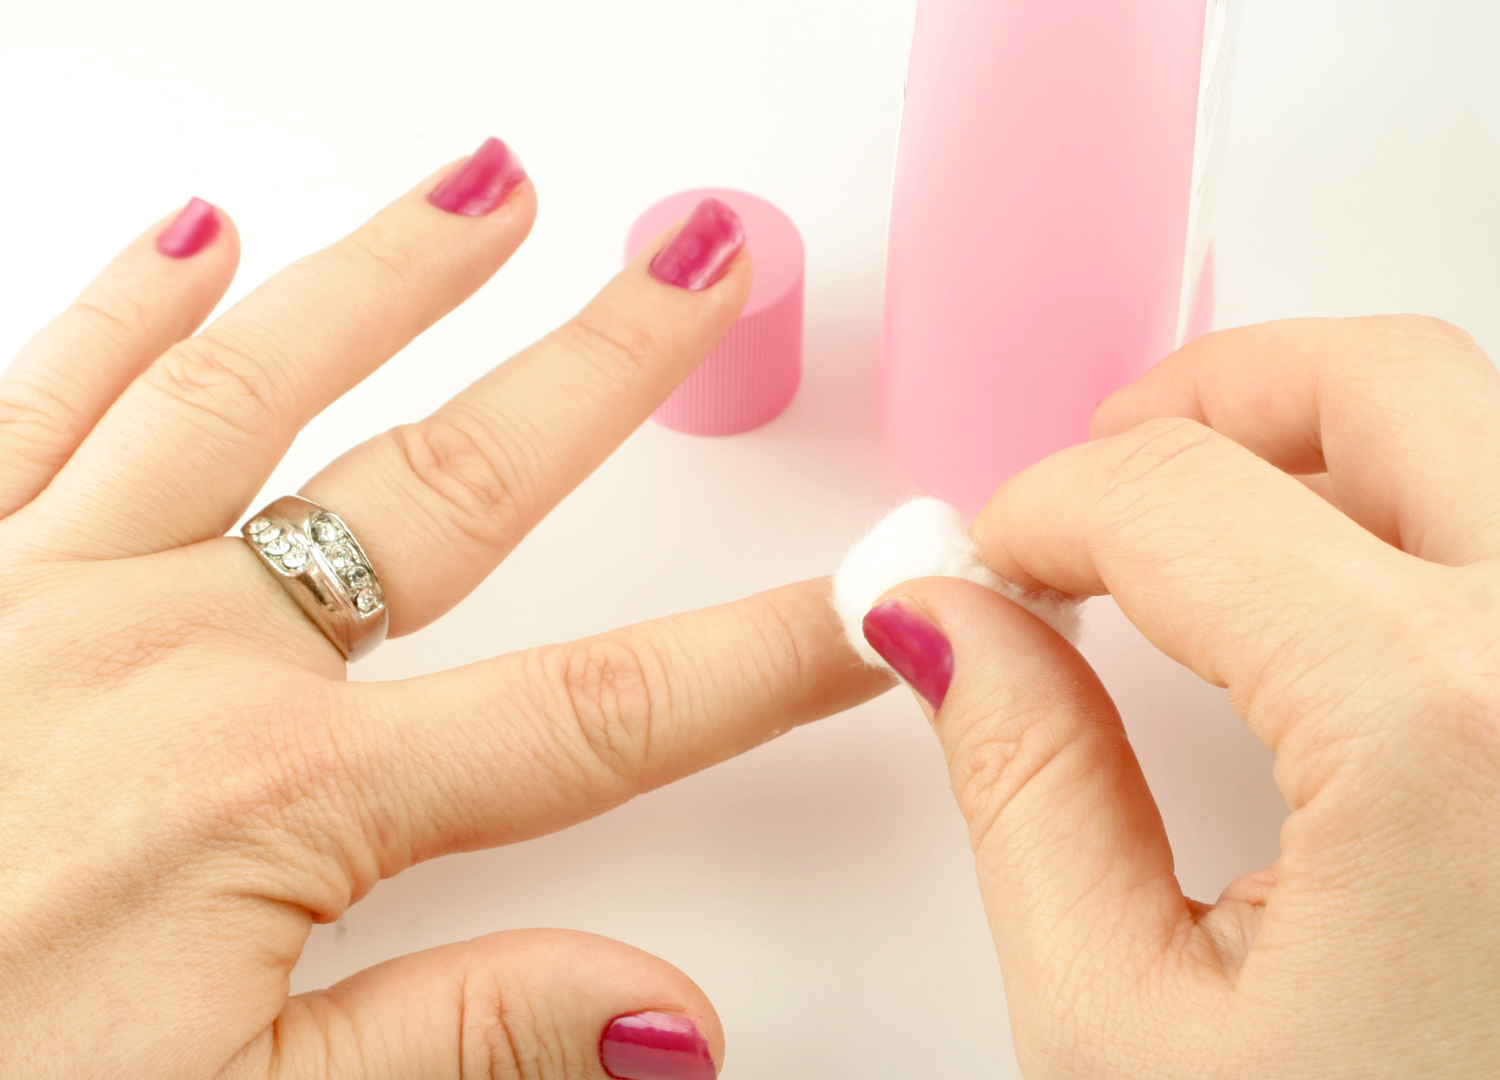
- Gather your supplies: cotton balls, aluminum foil, and acetone-based nail polish remover.
- Tear the foil into small squares, enough to wrap around each fingertip.
- Soak a cotton ball in the remover and place it on your nail.
- Wrap the foil square around your fingertip, securing the cotton ball in place.
- Repeat steps 3-4 for each nail.
- Leave the foil wraps on for 10-15 minutes, allowing the remover to break down the glitter polish.
- Gently slide the foil and cotton ball off each nail, wiping away the loosened polish.
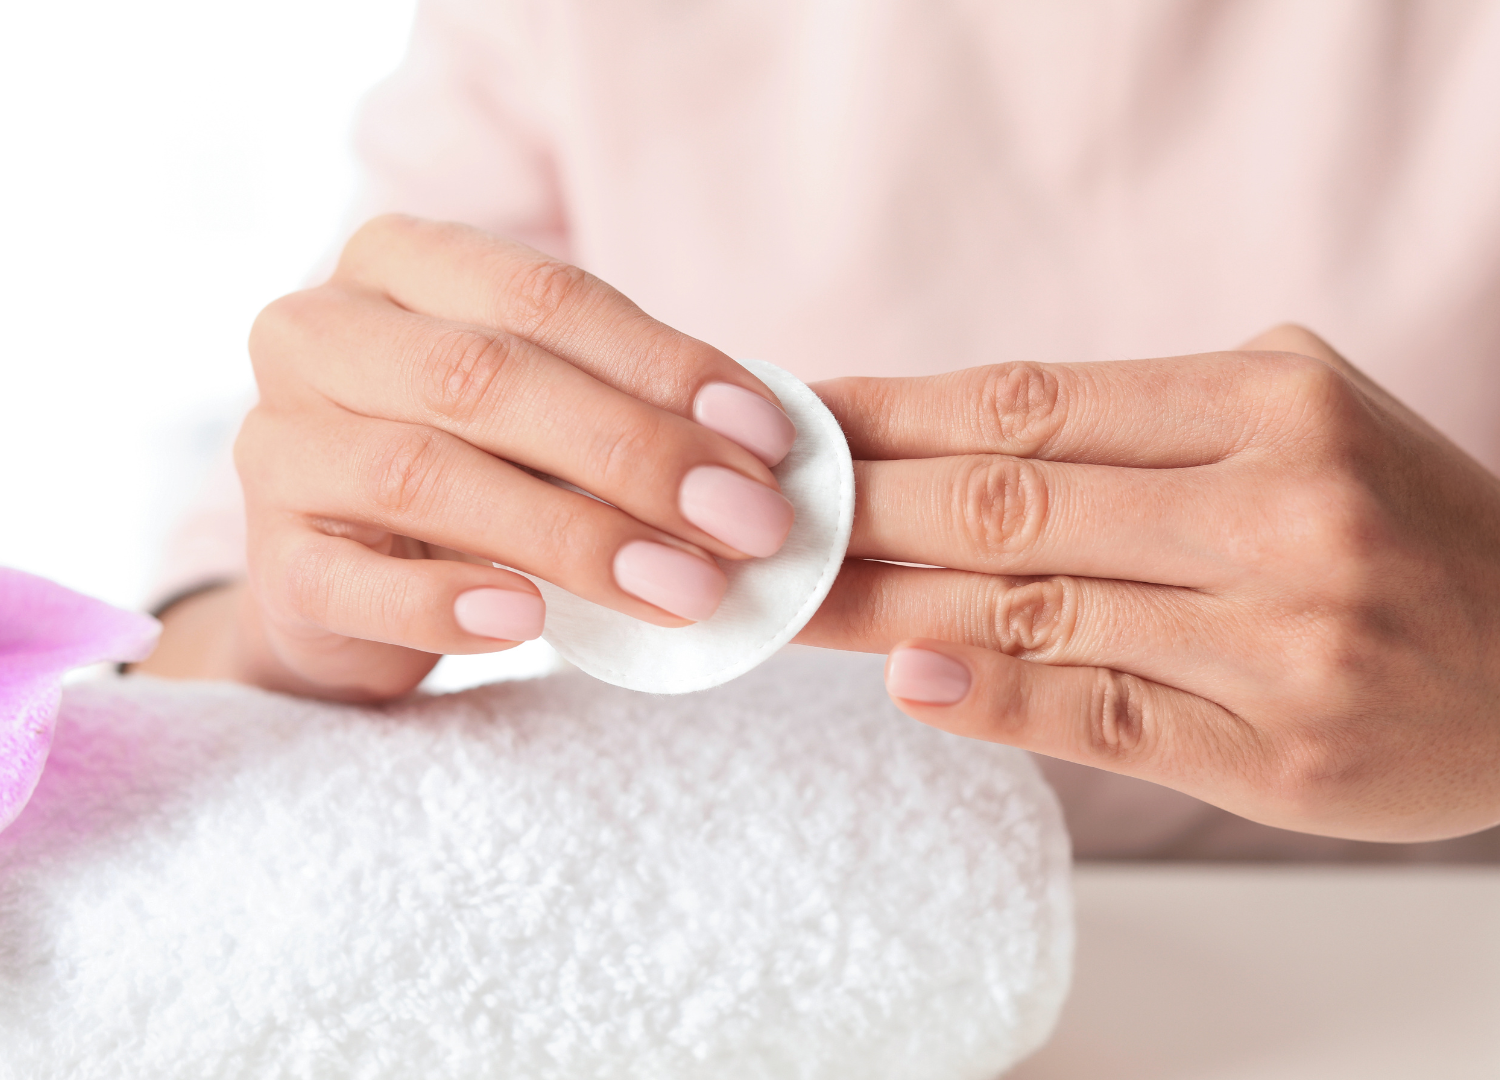
- If any glitter remains, use a fresh cotton ball soaked in remover to gently rub it off.
- Moisturize your nails and cuticles with oil or lotion to counteract the drying effects of the acetone.
This method is more effective and less damaging than harshly scrubbing your nails with a remover-soaked cotton ball. The foil wrap creates a seal, allowing the remover to penetrate the glitter polish more deeply, making it easier to remove.
Nail Polish That Won’t Dry
Waiting for nail polish to dry can feel like an eternity, especially when you’re in a hurry. If your polish isn’t drying as quickly as you’d like, try this simple trick:
- Fill a bowl with cold water and add a few ice cubes.
- Wait 2-3 minutes after applying your final coat of polish.
- Dip your nails into the cold water for 3-5 seconds.
- Remove your hands and gently pat them dry with a soft towel.
- Avoid using your hands for at least 5 minutes to allow the polish to set completely.
The cold water helps to harden the nail polish faster by causing the polish to contract and solidify. This quick fix is particularly useful when you’re short on time or need to use your hands soon after painting your nails.

Achieve Flawless Nails at Your Fingertips!
In conclusion, while nail polish problems can be frustrating, they don’t have to ruin your entire manicure. By following these simple solutions, you can quickly and easily fix common issues like smudging, chipping, and excess polish. However, for those looking for an even more convenient and long-lasting solution to ensure their nails always look professionally done, effortless, flawless nails are just a click away. choose press on nails for a beautiful, hassle-free alternative that will keep you feeling confident and put-together with minimal effort, no matter what life throws your way.


